SmartView Cloud Manual - iOS
SmartView Cloud iOS application manual and user guide.
Overview
Introduction
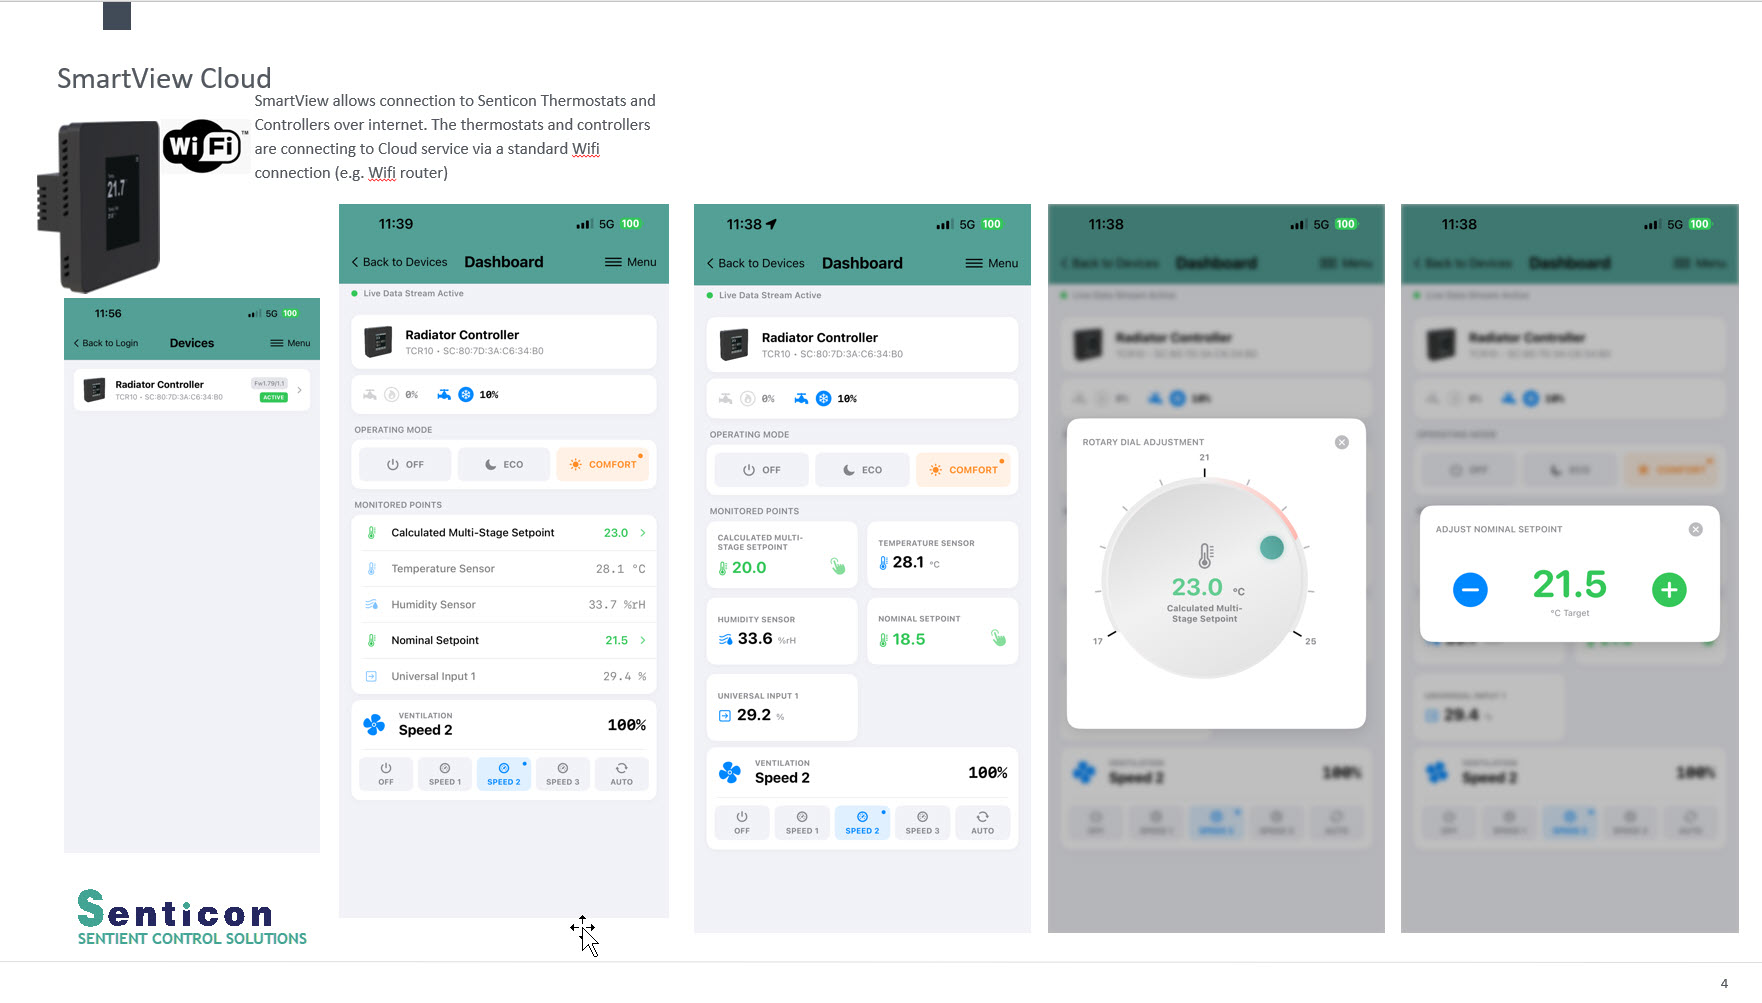
SmartView Cloud is an application designed to connect to SmartView Cloud Wifi enabled controllers, thermostats and smart IoT sensors from mobile phone or tablet. SmartView Cloud allows interrogation of the devices current measurements and adjustment of the settings such as target temperature setpoint and operating mode (Occupied, Unoccupied, Off - depending on the device configuration).
SmartView cloud connects to the devices through SmartView Cloud IoT server (utilises ThingsBoard IoT framework). The Wifi enabled controllers, sensors and thermostats push the current measurement data automatically to the SmartView Cloud server and the application reads this data. When the SmartView App user chnages the device settings, the chnages are immediately transmitted through SmartView Cloud server to the Wifi enabled devices.
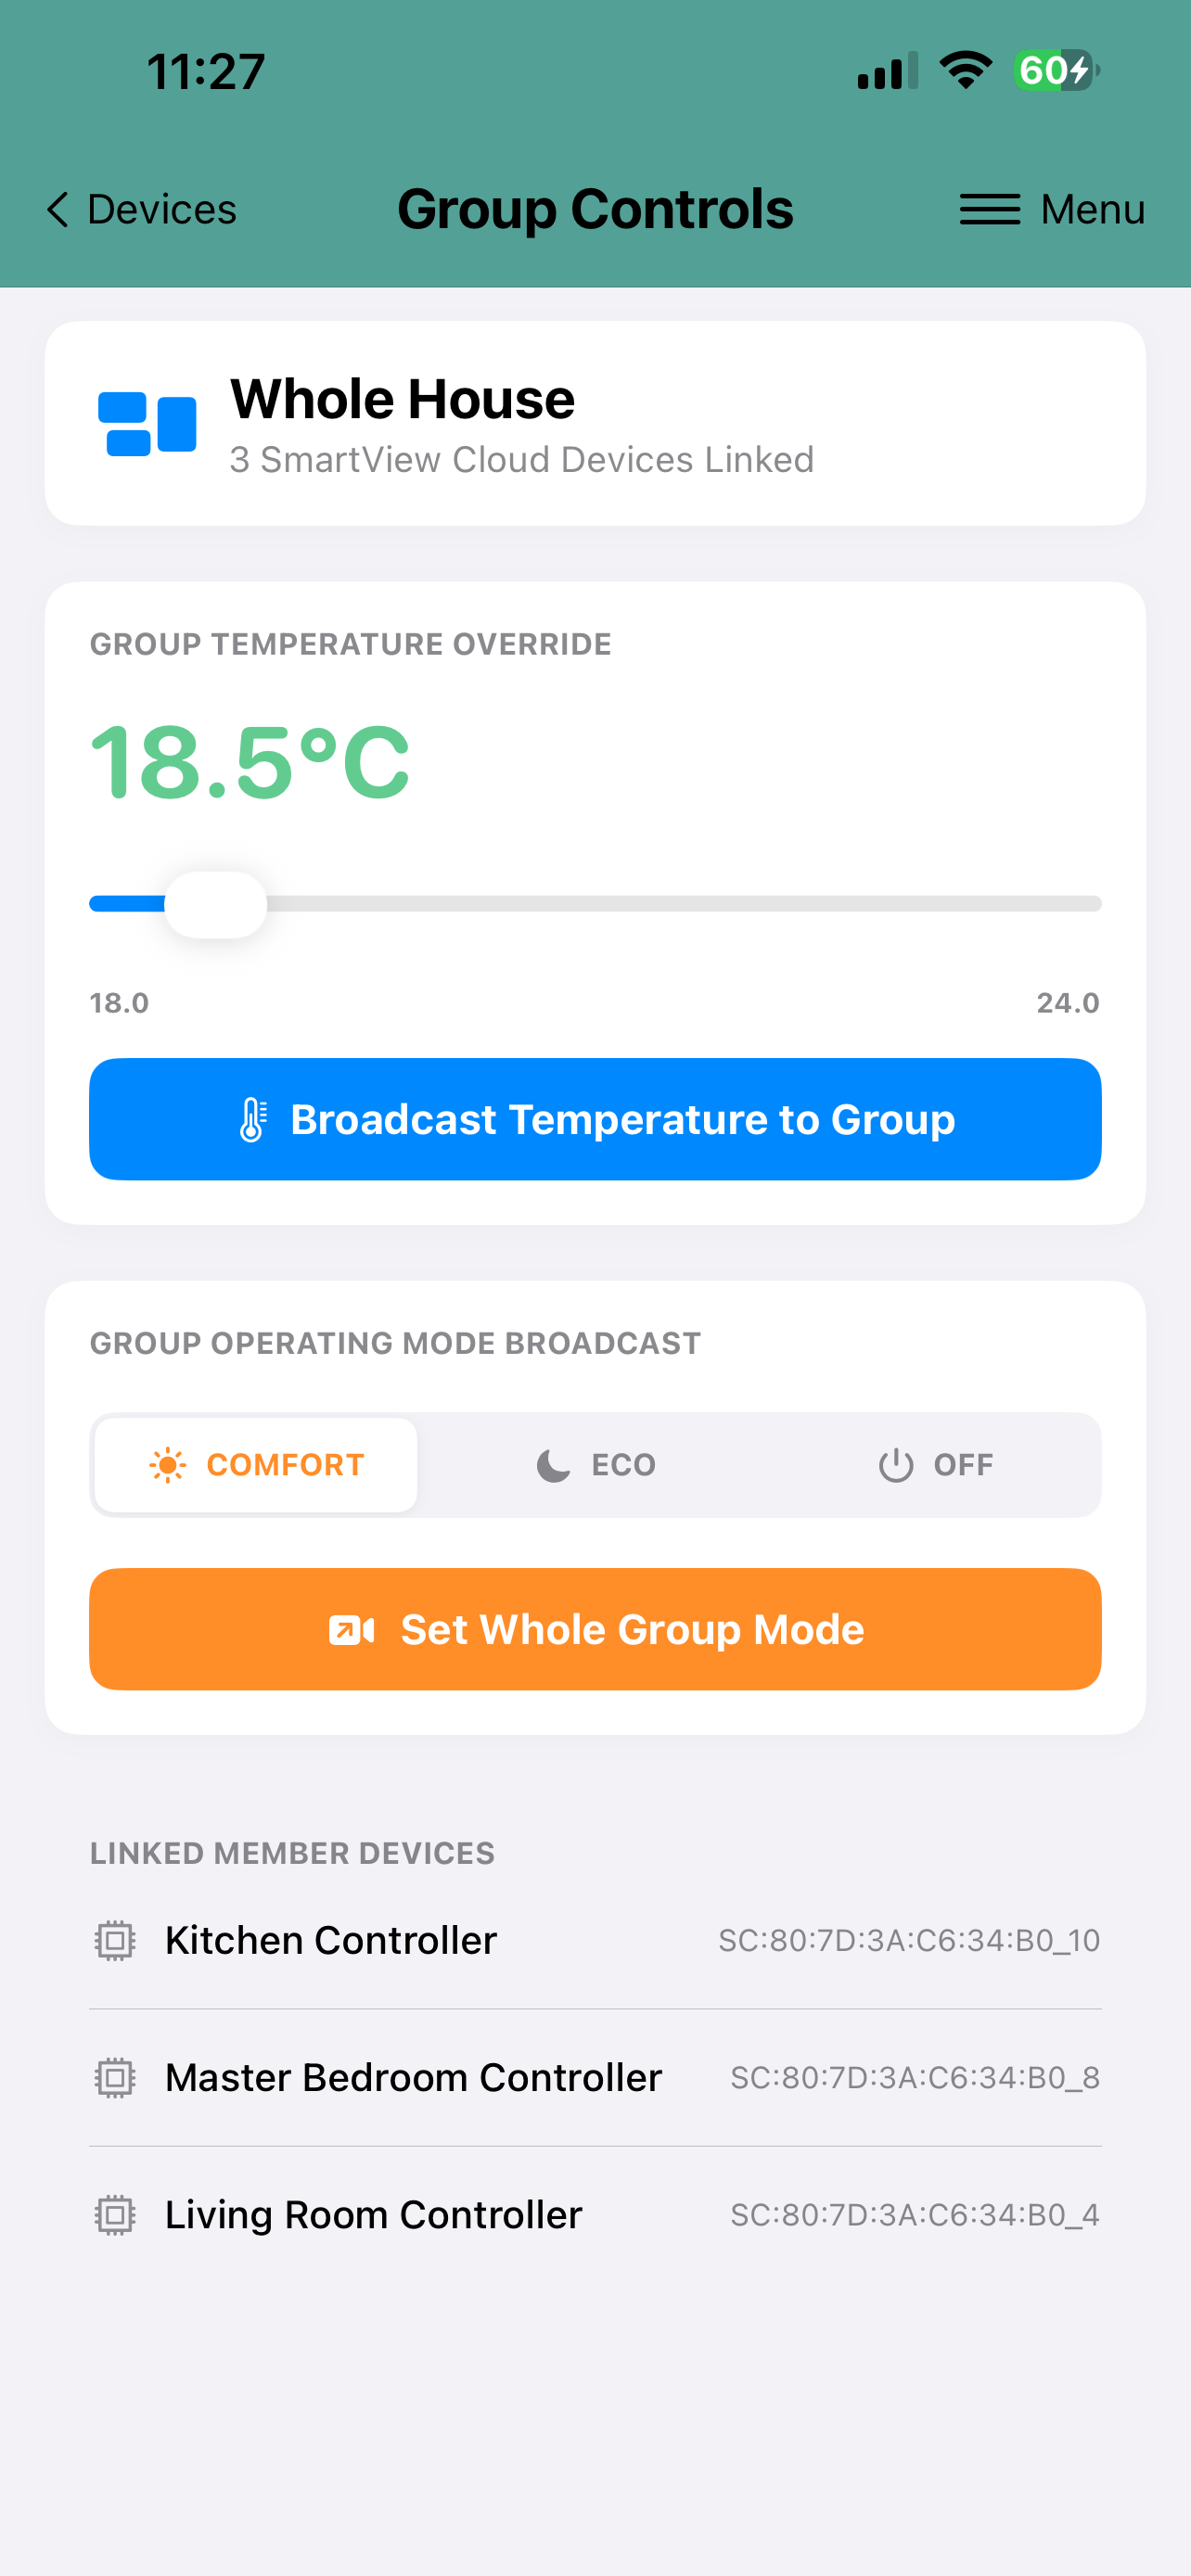
In SmartView Cloud App it is possible configure number of devices to groups that allow setpoints and operating modes be set to the group devices using a single control element. When a number of SmartView Cloud Wifi devices are used in a floor or a zone of the building and this allows a fast way to override e.g. all devices to 'Off' mode.
Device Onboarding
SmartView Cloud Registration
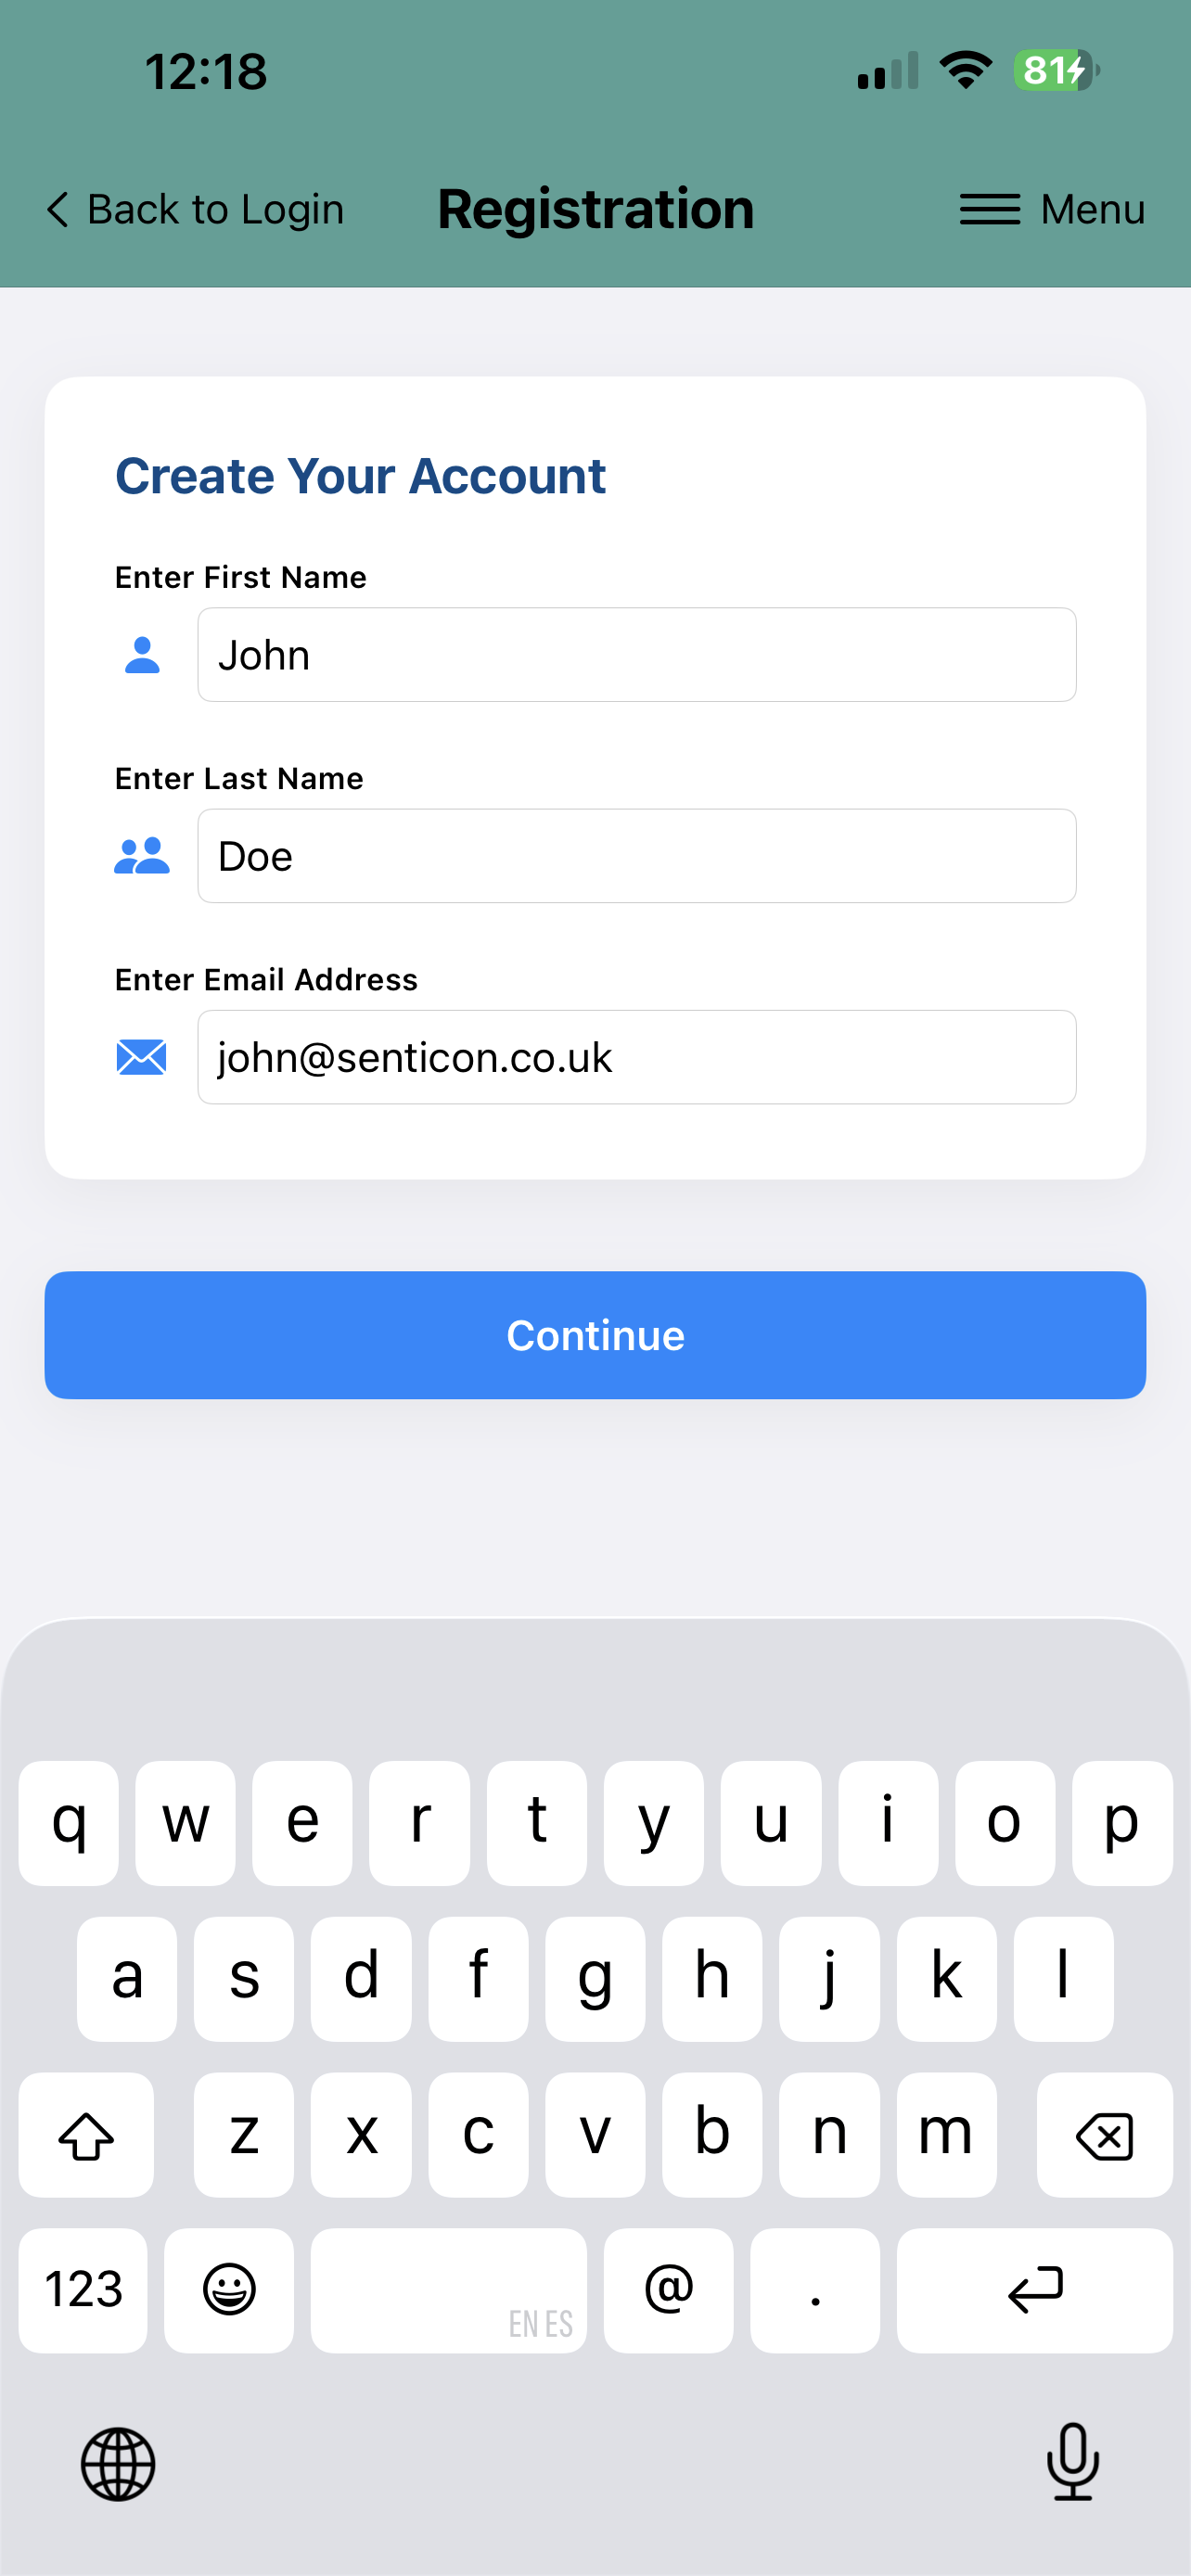
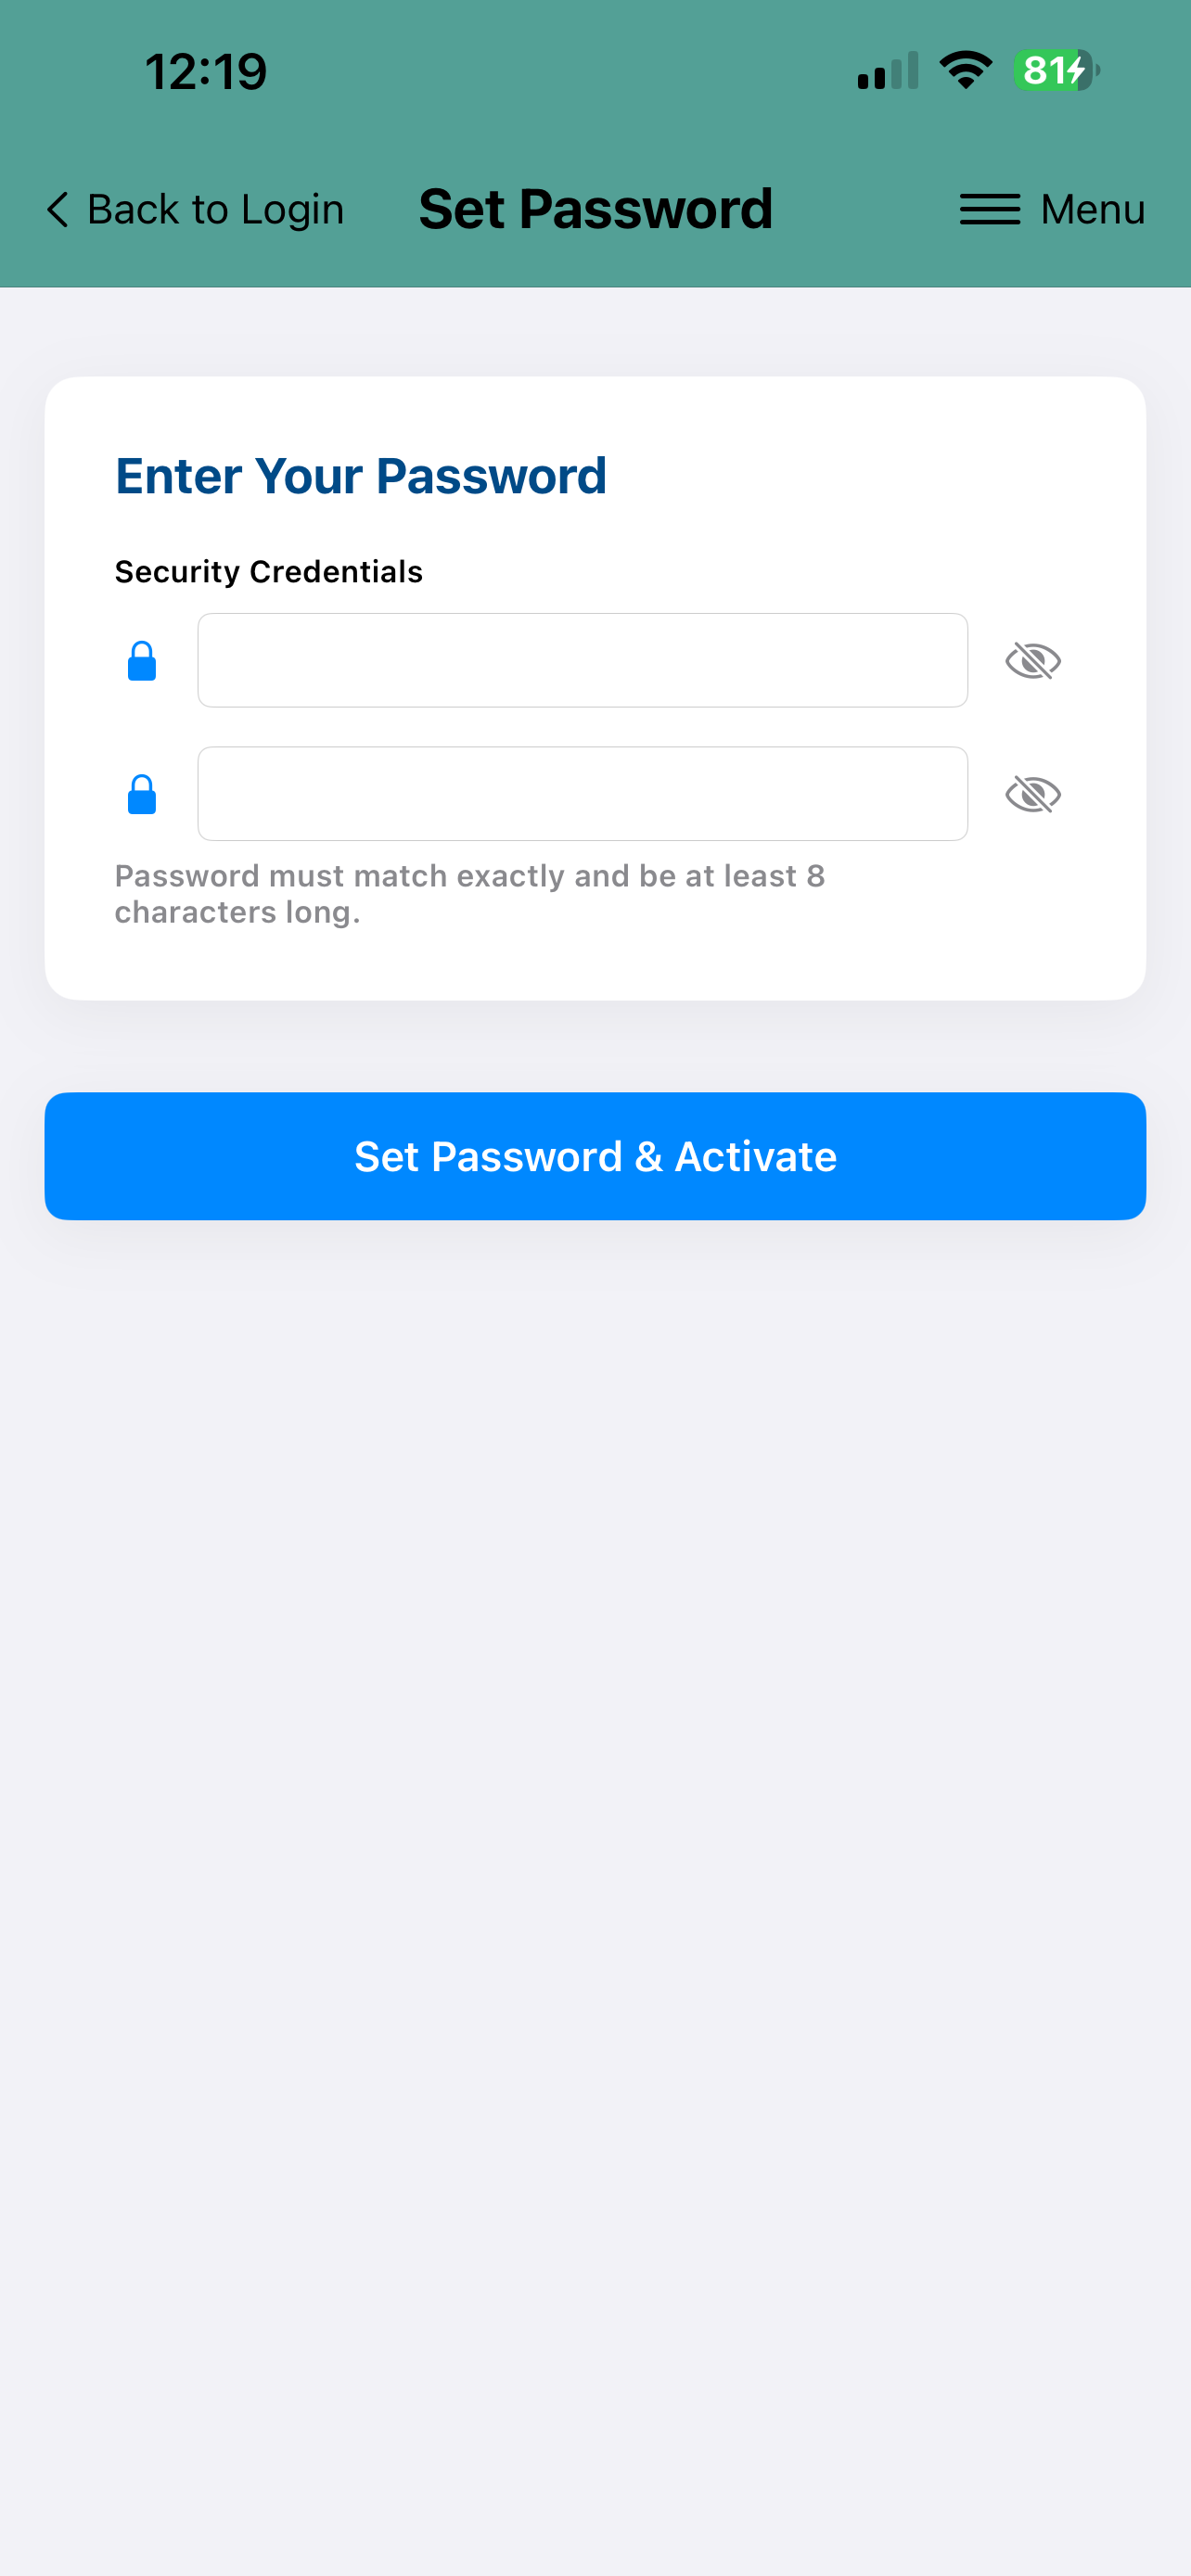
In order to be able to utilise the SmartView Cloud, you need to register on the cloud portal. The registration is done by pressing button labelled as:-
Don't have an Account? Register
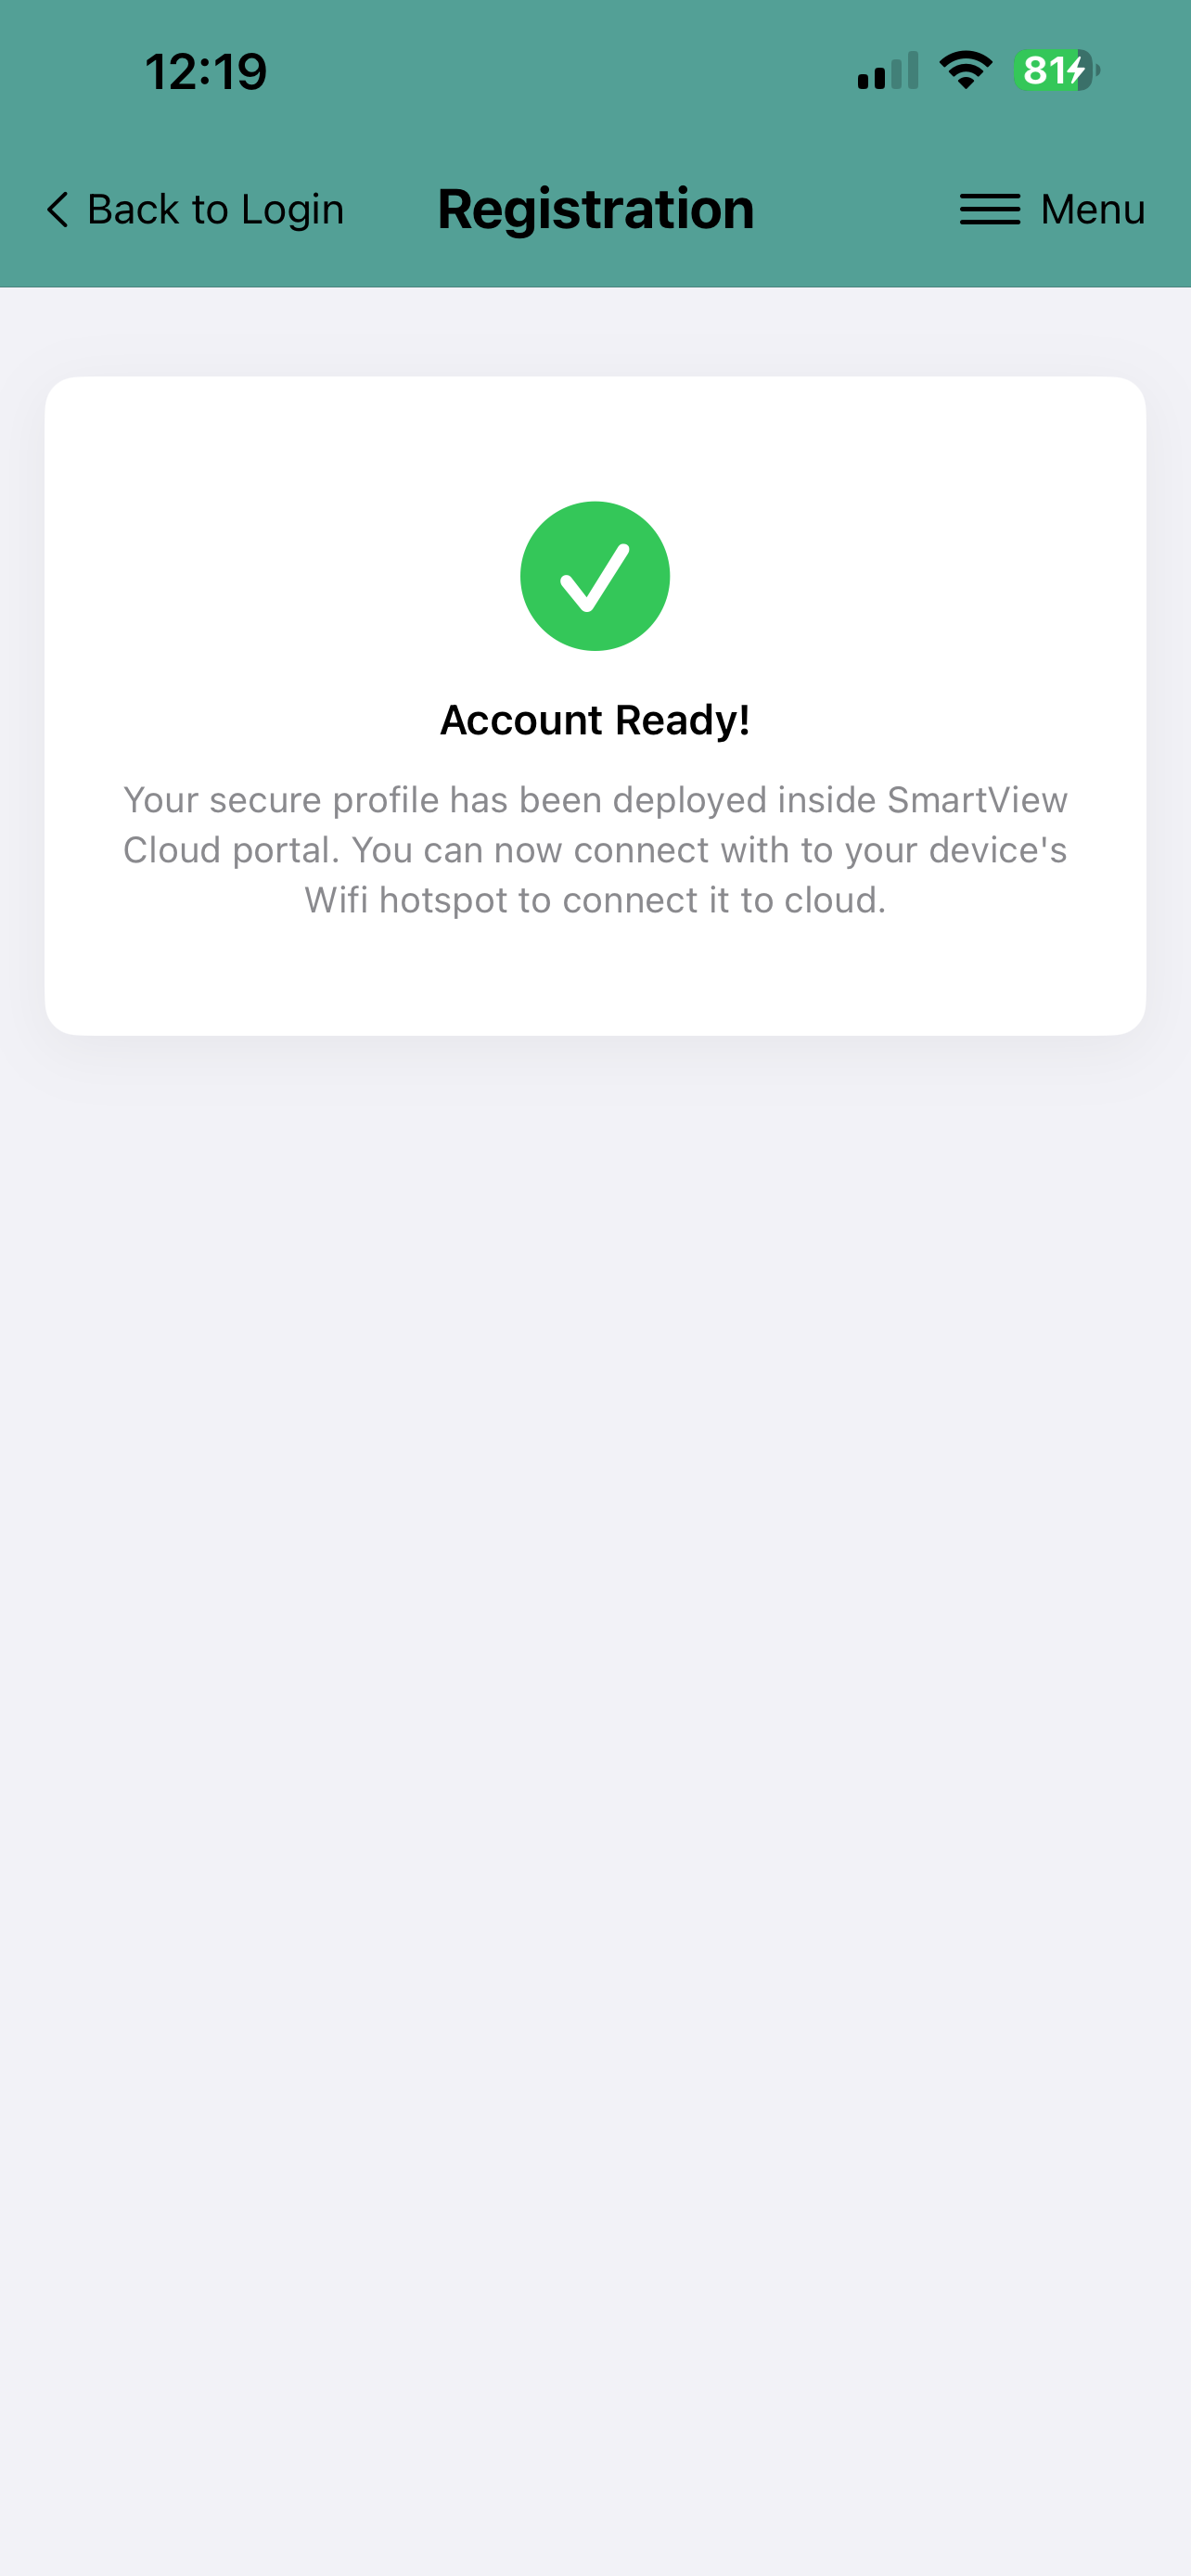
The application will ask your details and email address, after which you need return back to log in authenticate connection to SmartView Cloud portal. Once the user profile has been created, it is possible to connect SmartView Cloud Wifi devices to the cloud and to the mobile / tablet app.
 |
 |
 |
GDPR Privacy Notice: Your login details are registered in the SmartView Cloud Portal, which is securely hosted on the cloud.senticon.eu server located in Germany (EU). Data processing complies fully with UK and EU GDPR regulations.
Connecting SmartView Cloud Device
The SmartView Cloud Wifi devices will connect via Wifi to the cloud server. In order for the devices to be able to communicate to cloud, a Wifi connection needs to be established between the device and the cloud server. To do this the SmartView Cloud enabled devices need to configured to be connected to Wifi i.e. typically to the Wifi router.
For Wifi configuration you need to know the SSID of the Wifi Router/Access Point and Password.
Follow the following steps to connect the SmartView Cloud Wifi device to the cloud server and to Claim the device to be registered under your user profile on the cloud server.
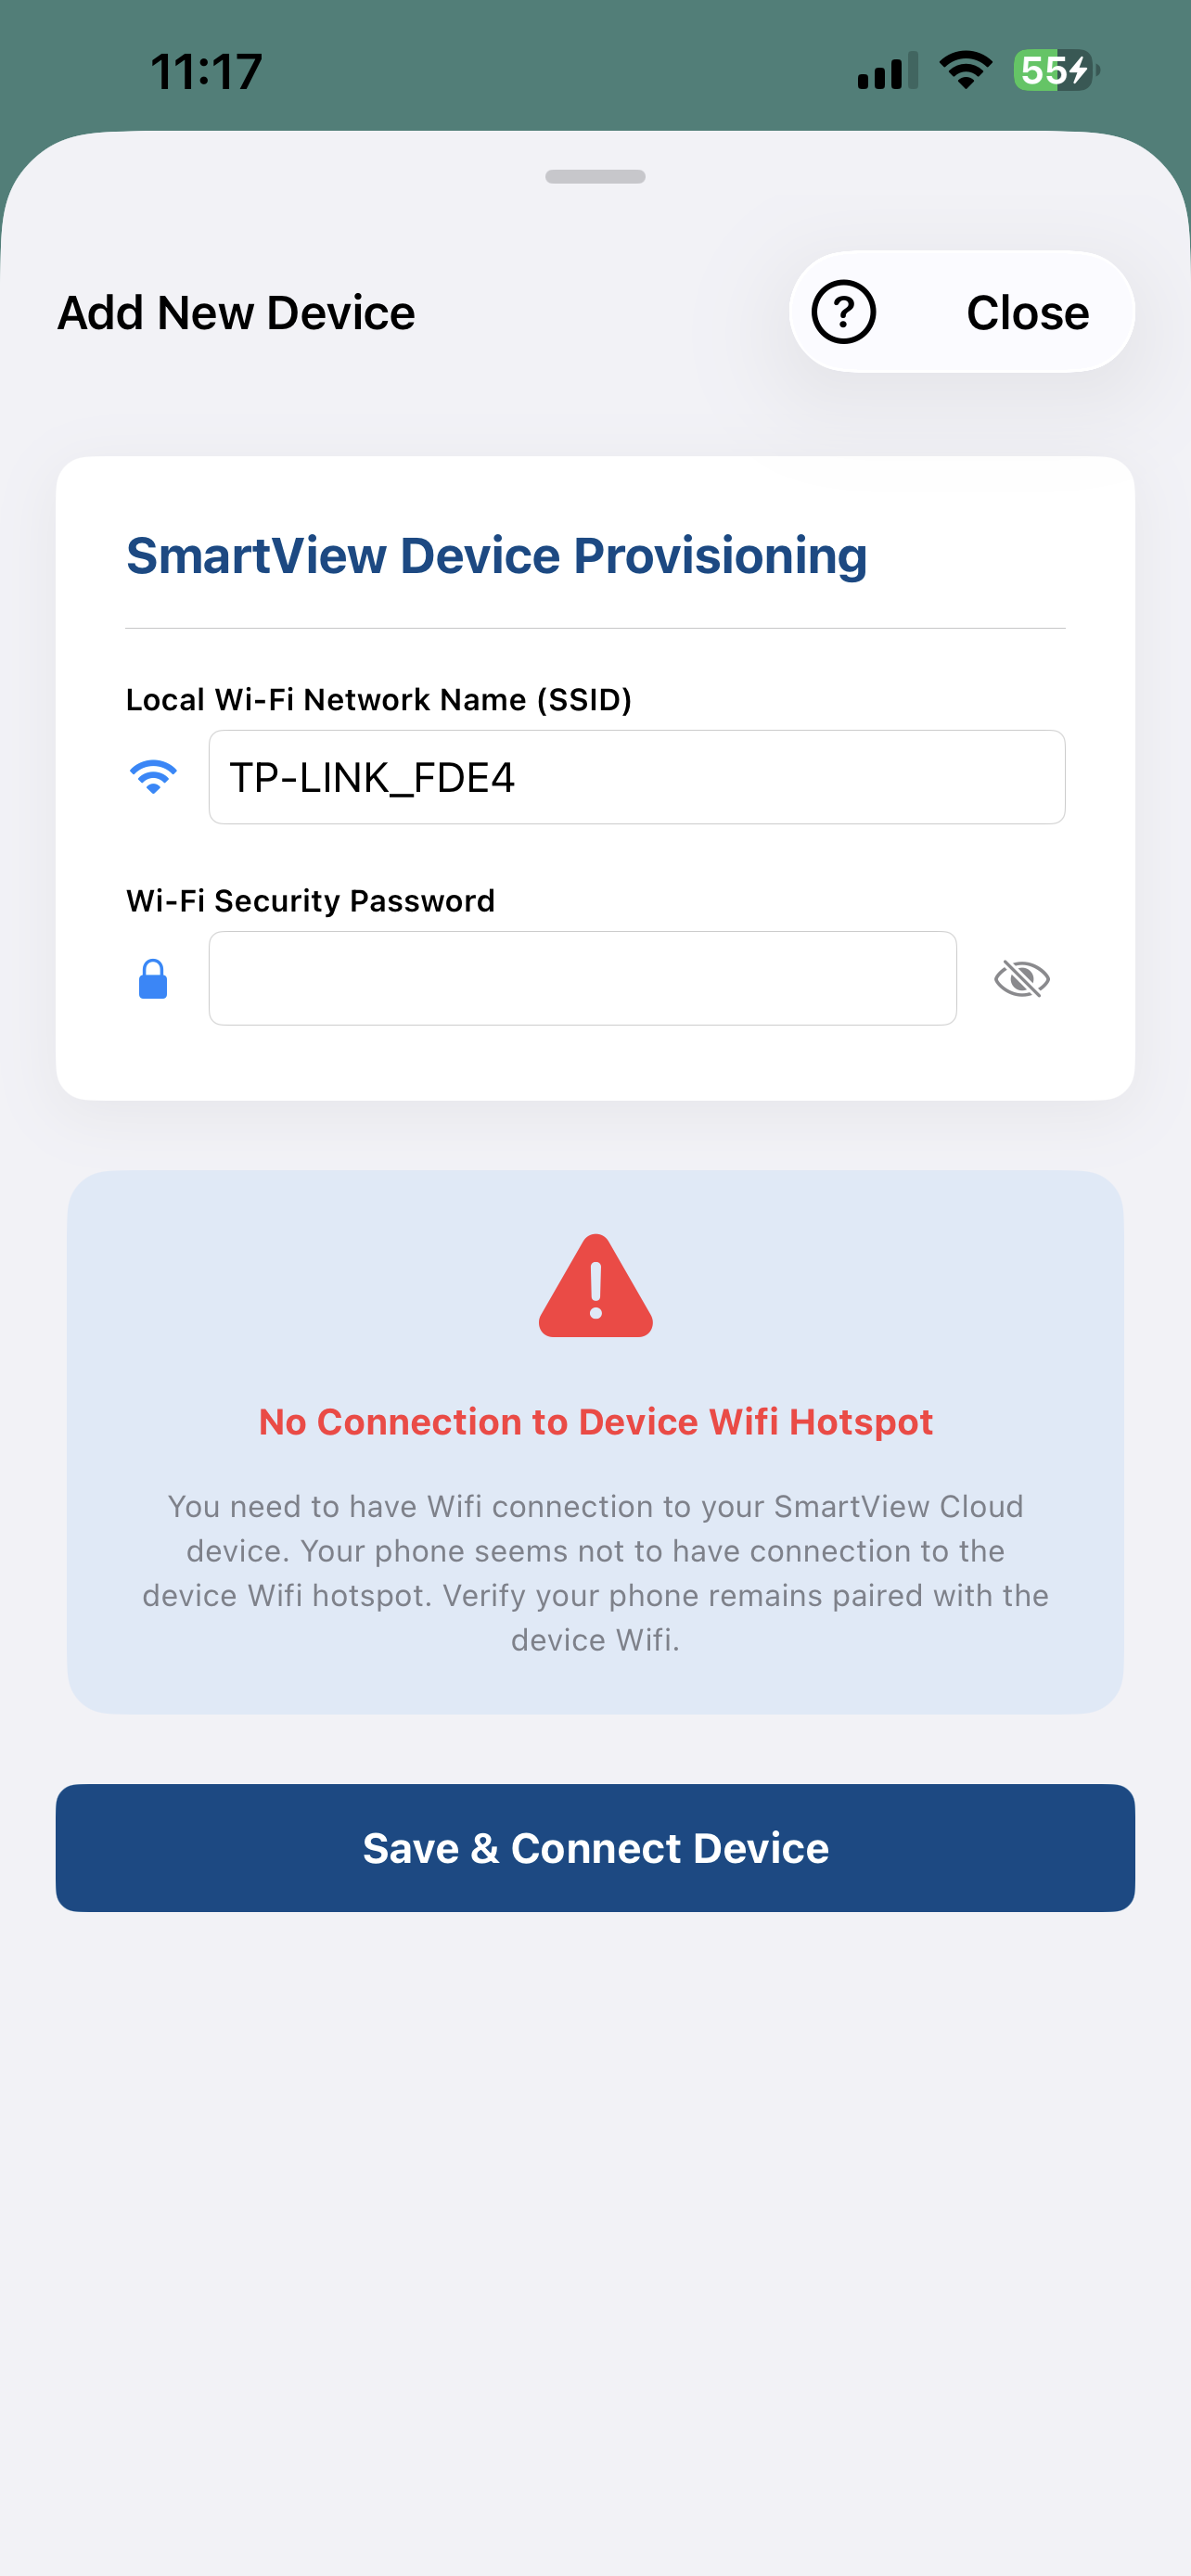
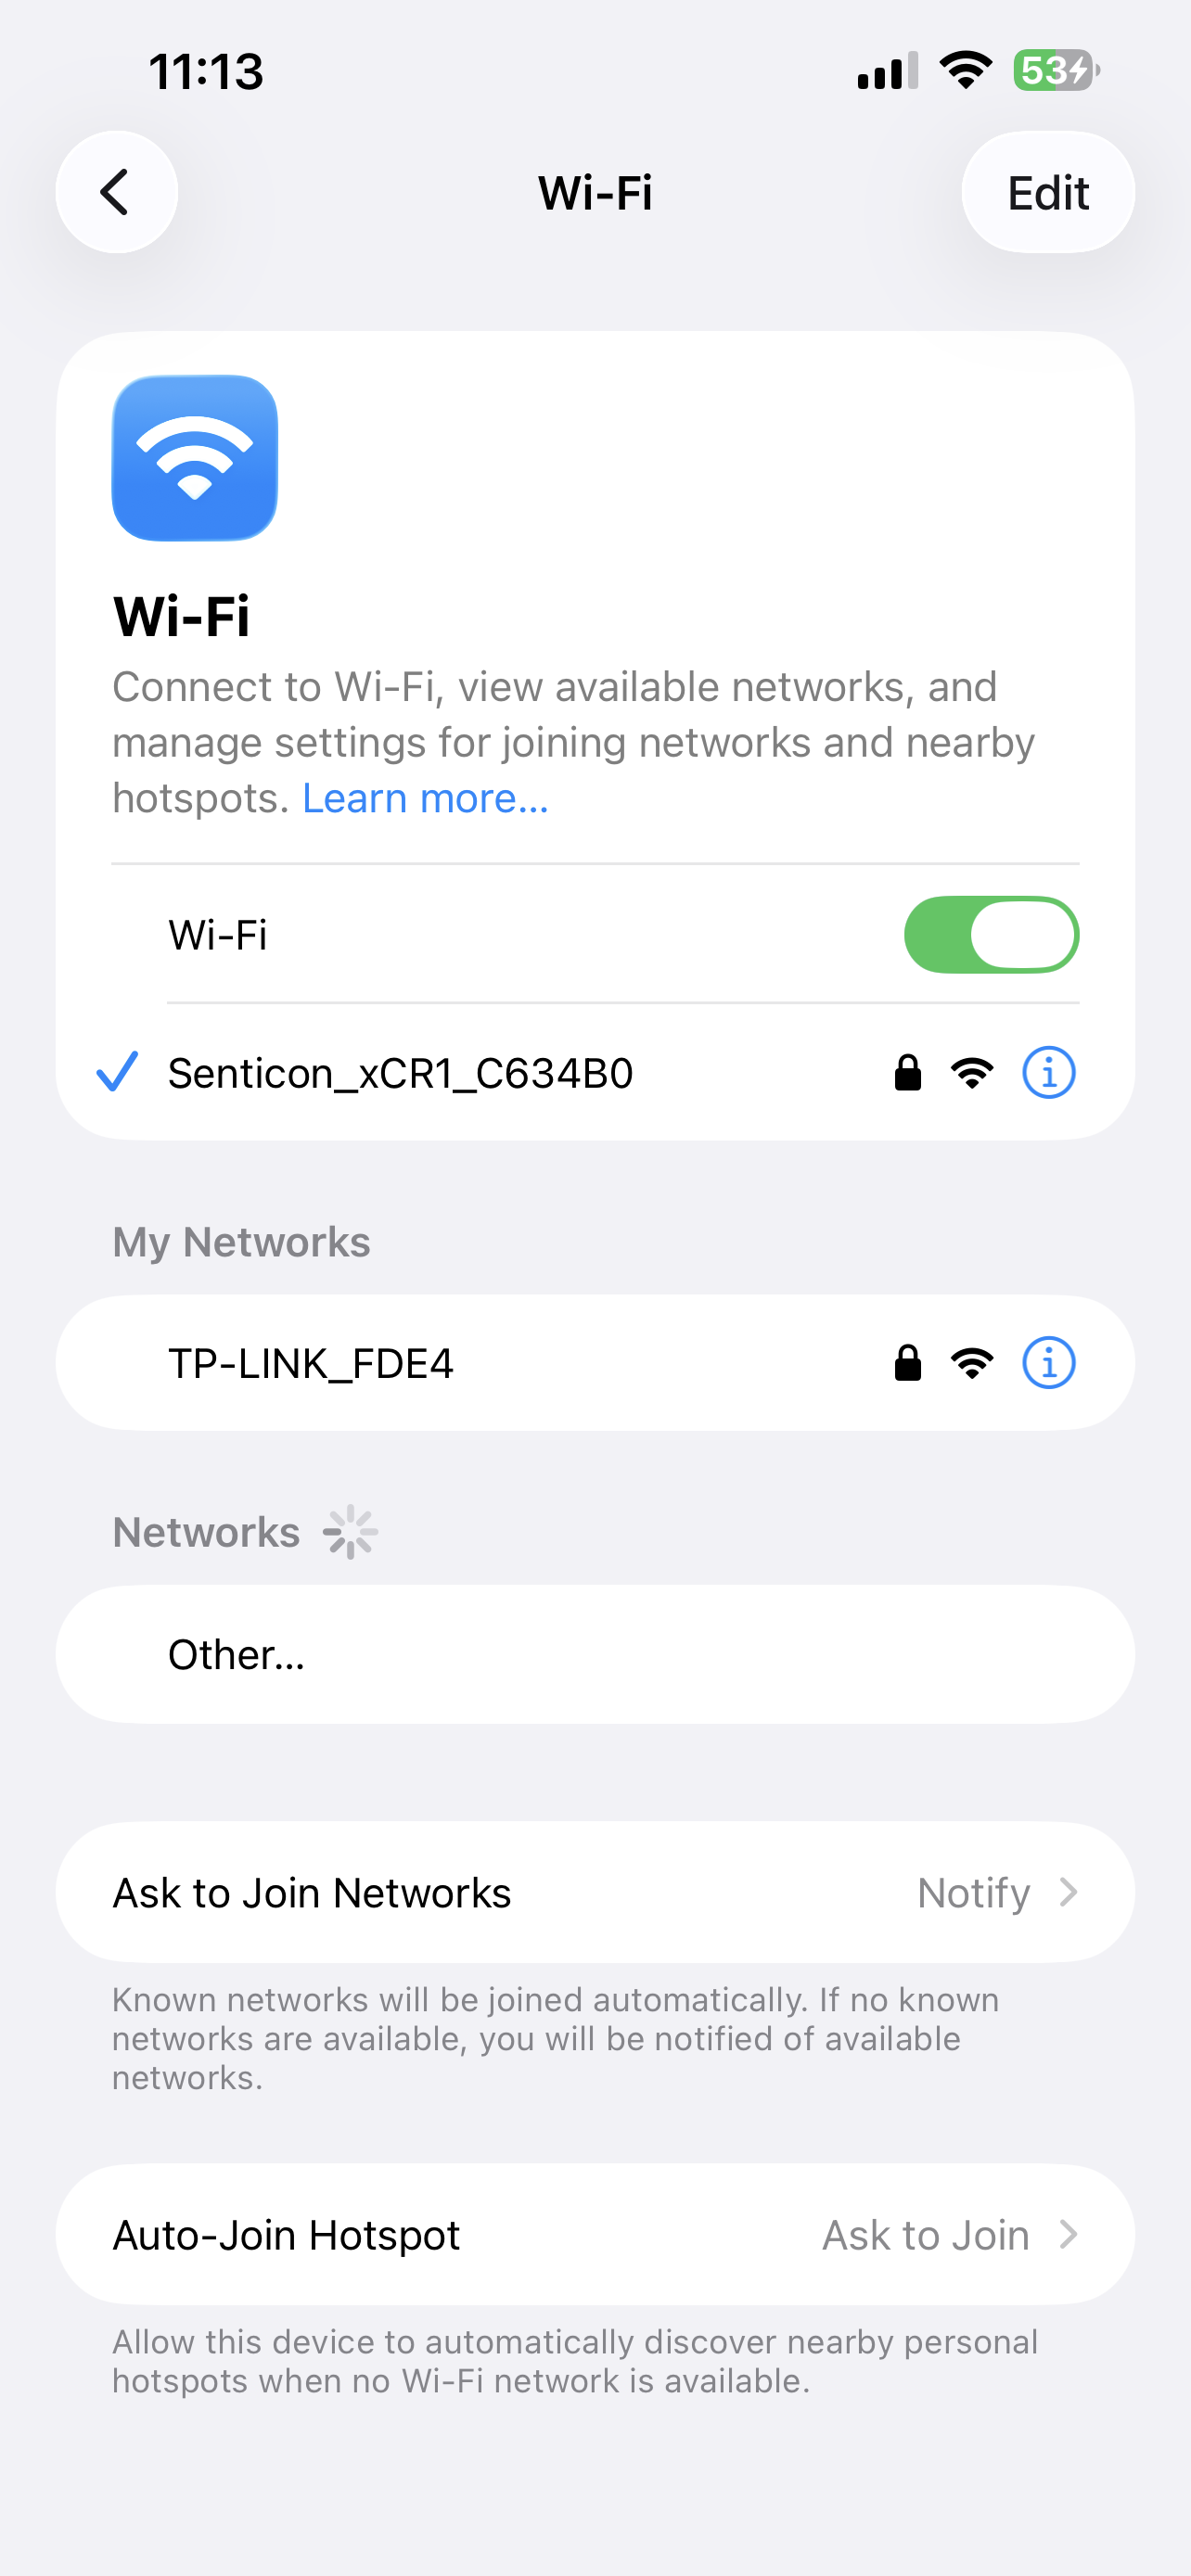
Before trying to configure Wifi credentials to SmartView Cloud device, you need to connect using your phone's Wifi directly to the device Wifi hotspot. The Wifi Hotspot name is similar to 'Senticon_xCR1_abcdef' where abcdef is unique 6-digit identifier of the Wifi hotspot. The Wifi hotspot password is 'iOT_abcdef' when abcdef is the same as the last 6 digits of the Wifi name.
 |
 |
 |
 |
|
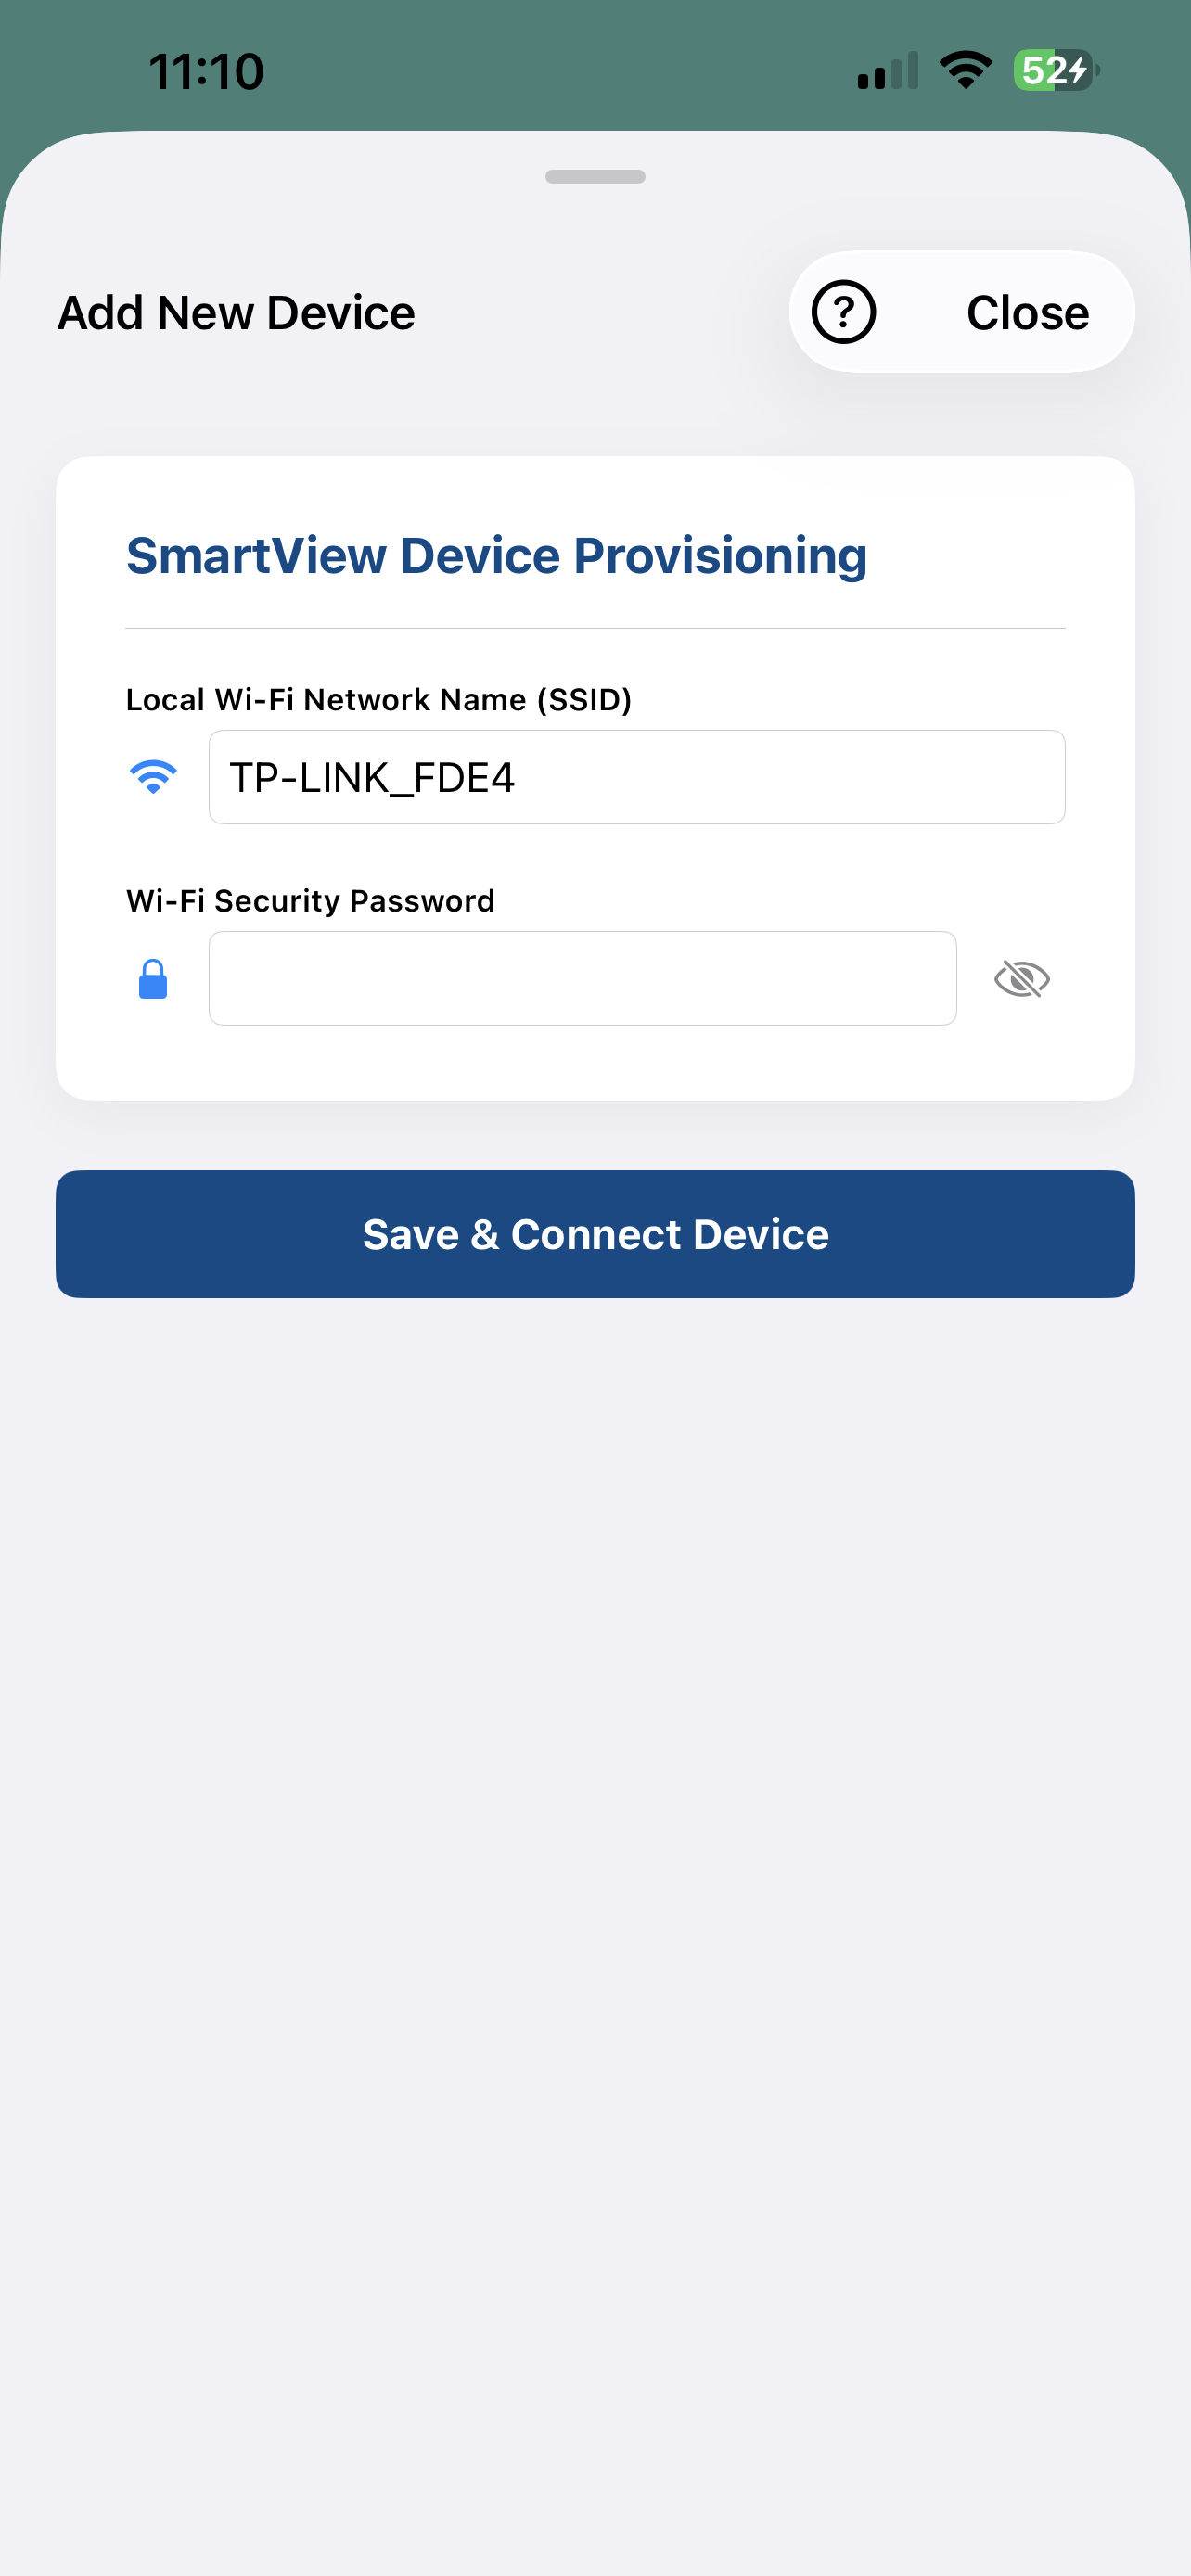
Entering Device Provisioning |
Provisioning - No Connection to Wifi Hotspot (Device) |
Using iOS Wi-Fi Settings to Connect Device Wifi Hotspot |
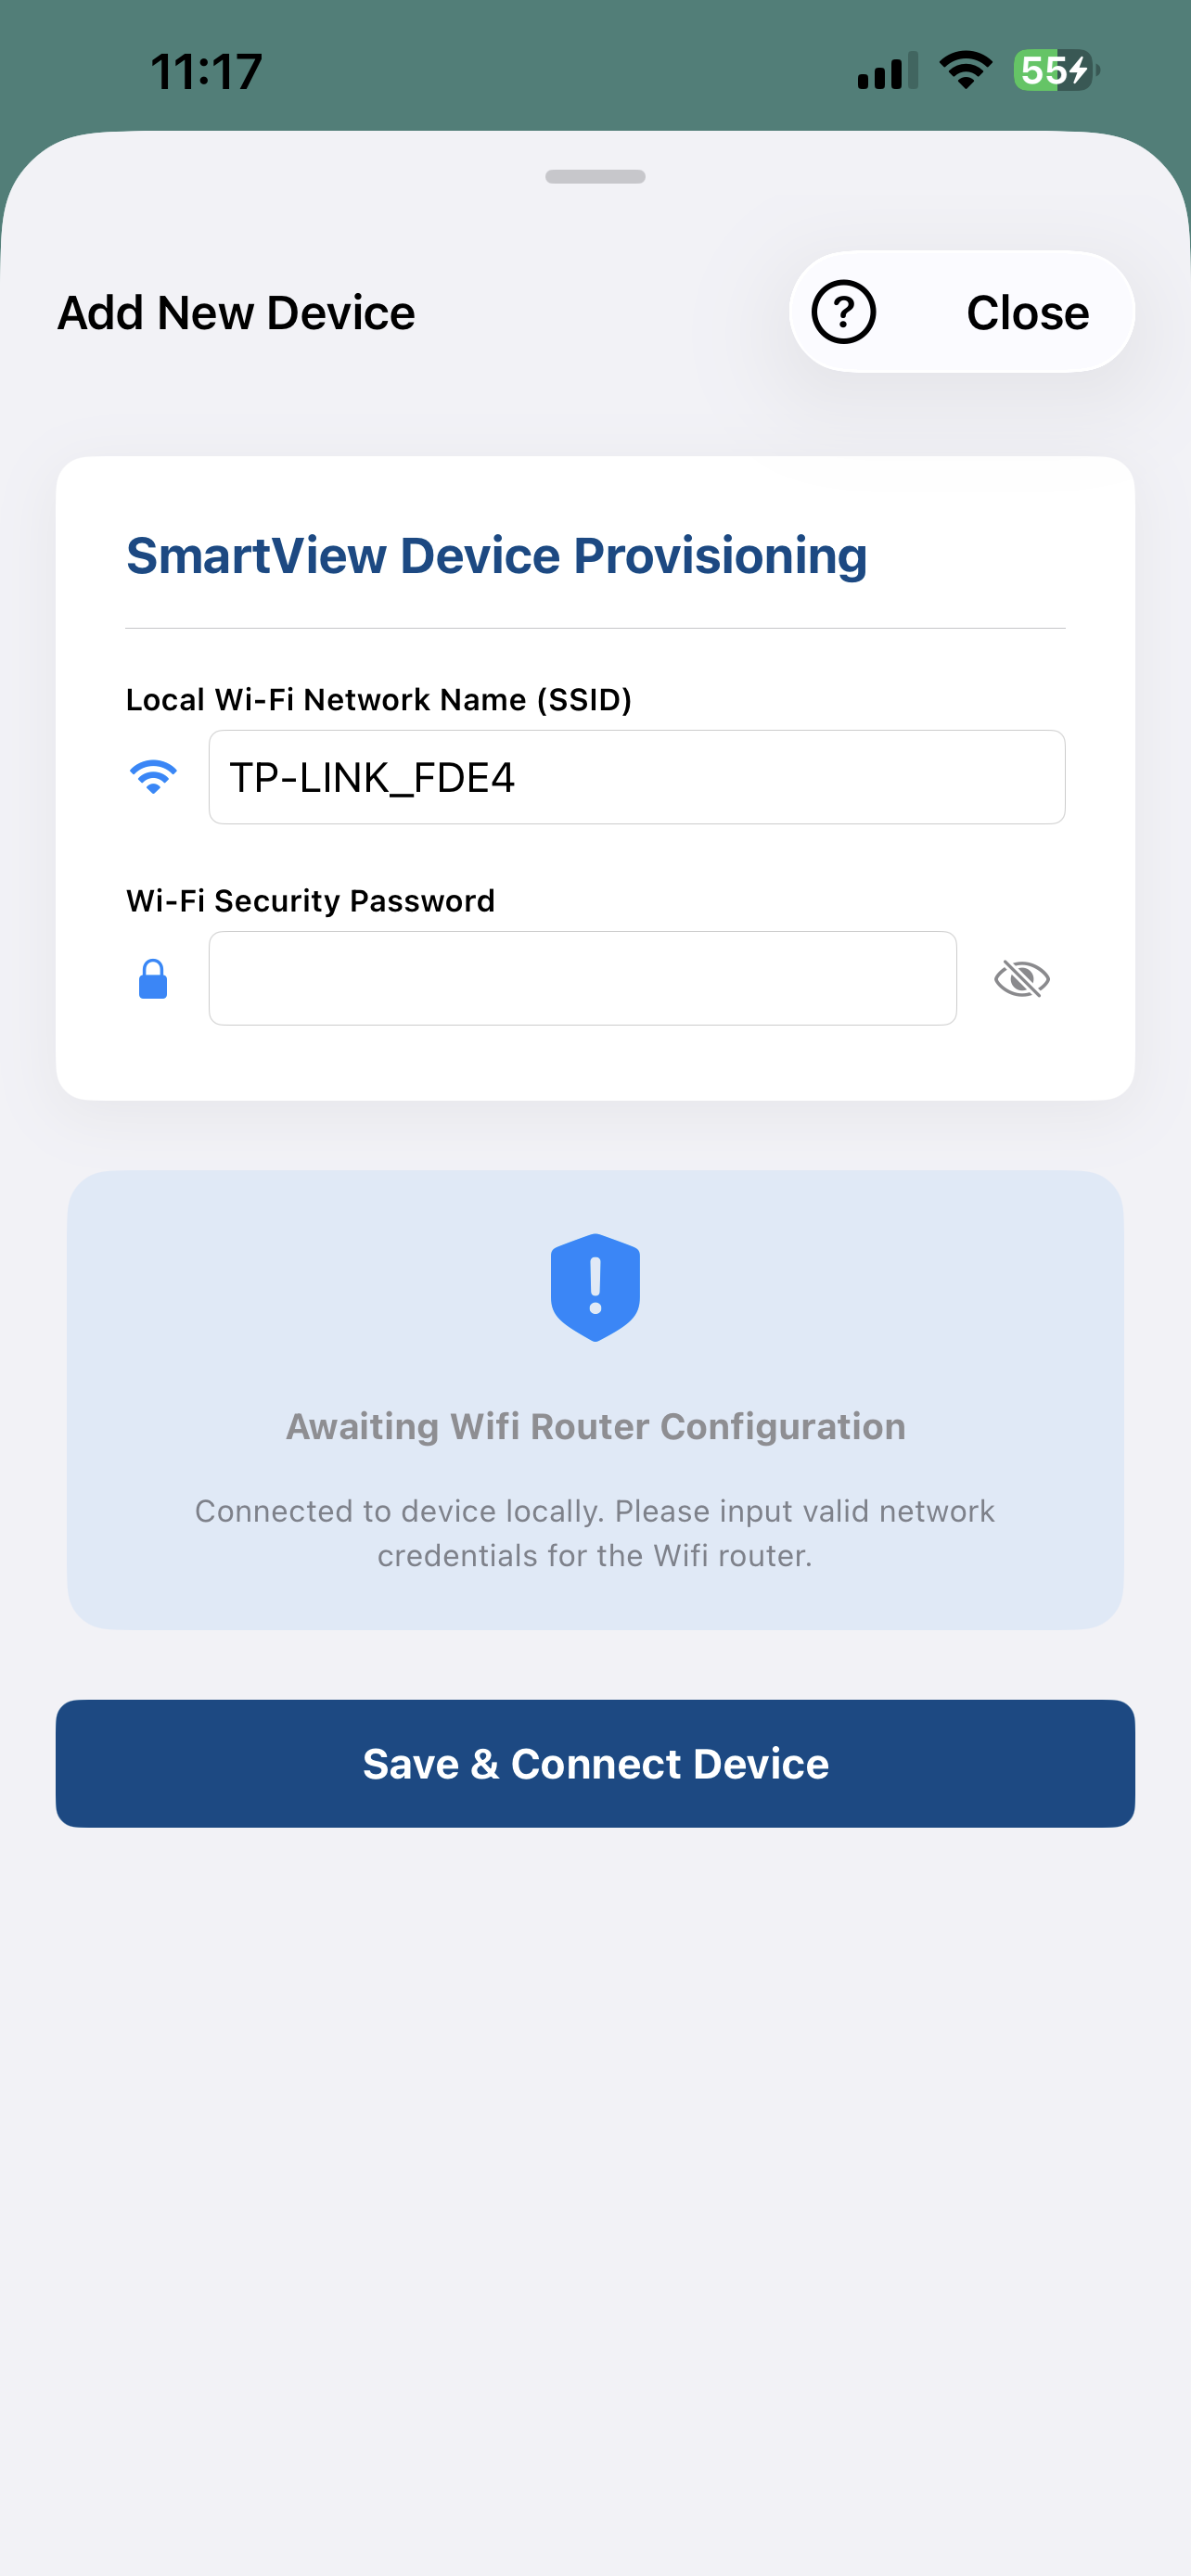
Connected to Wifi Hostpsot - Enter Wifi Credentials |
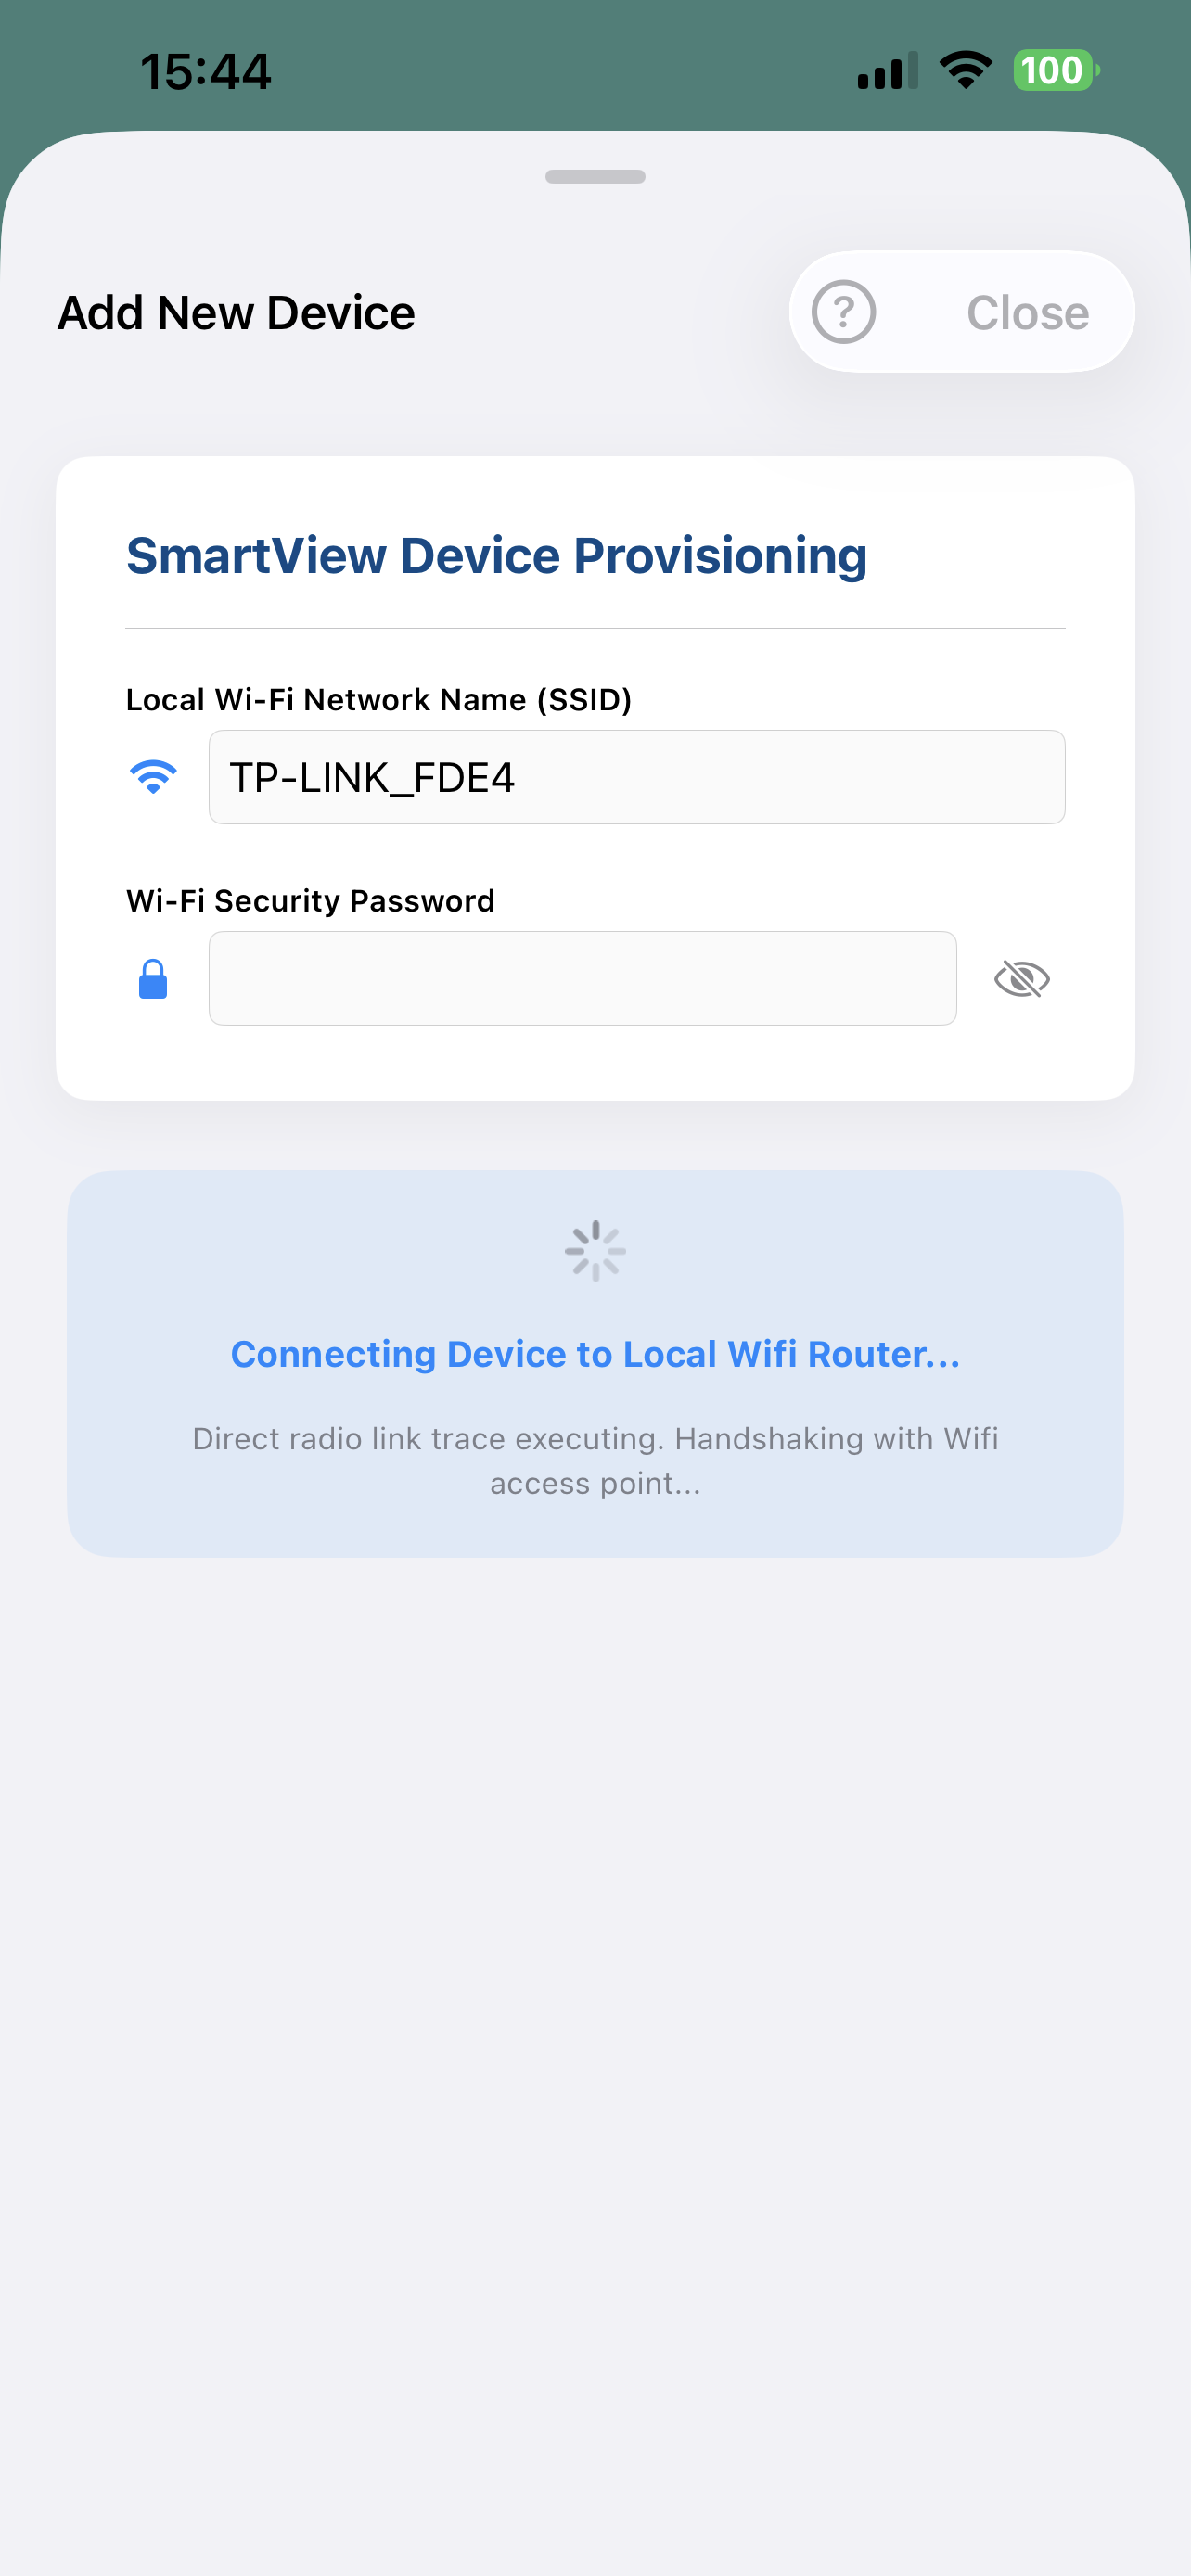
- The App communicates directly to the SmartView Cloud Wifi device using the Wifi hotspot and sends the Wifi credentials to it. The device will connect to Wifi, and authenticate connection to the Senticon Cloud server using secure credentials.
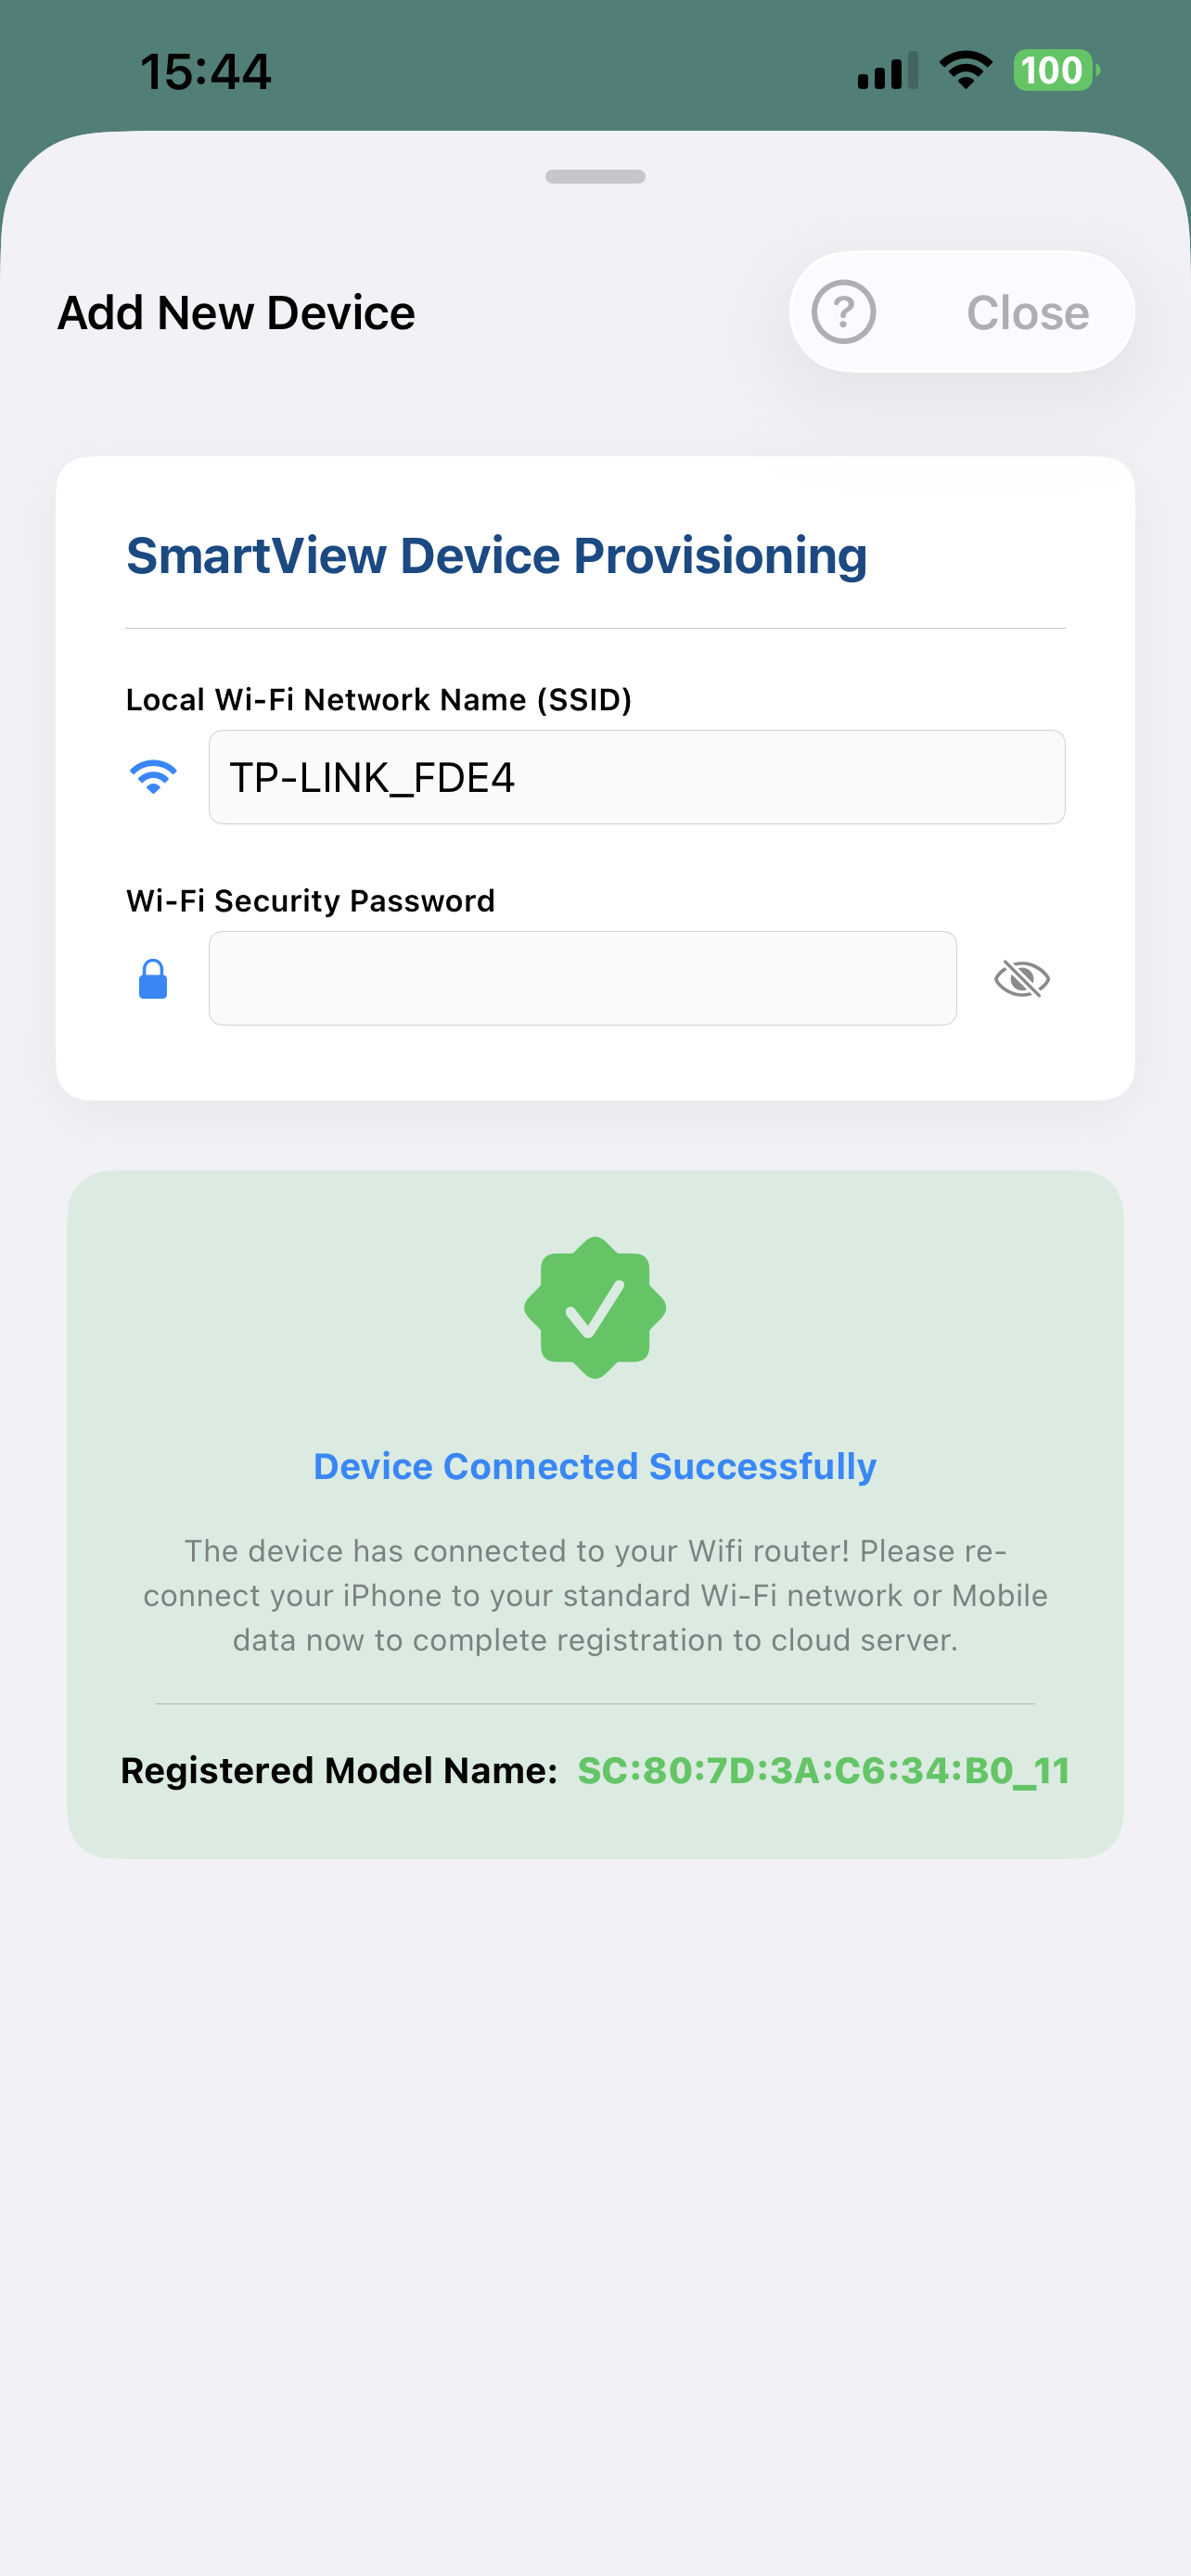
- Once the device has connected to the Cloud Server, the 'SmartView Device Provisioning' screen will show 'Success'.
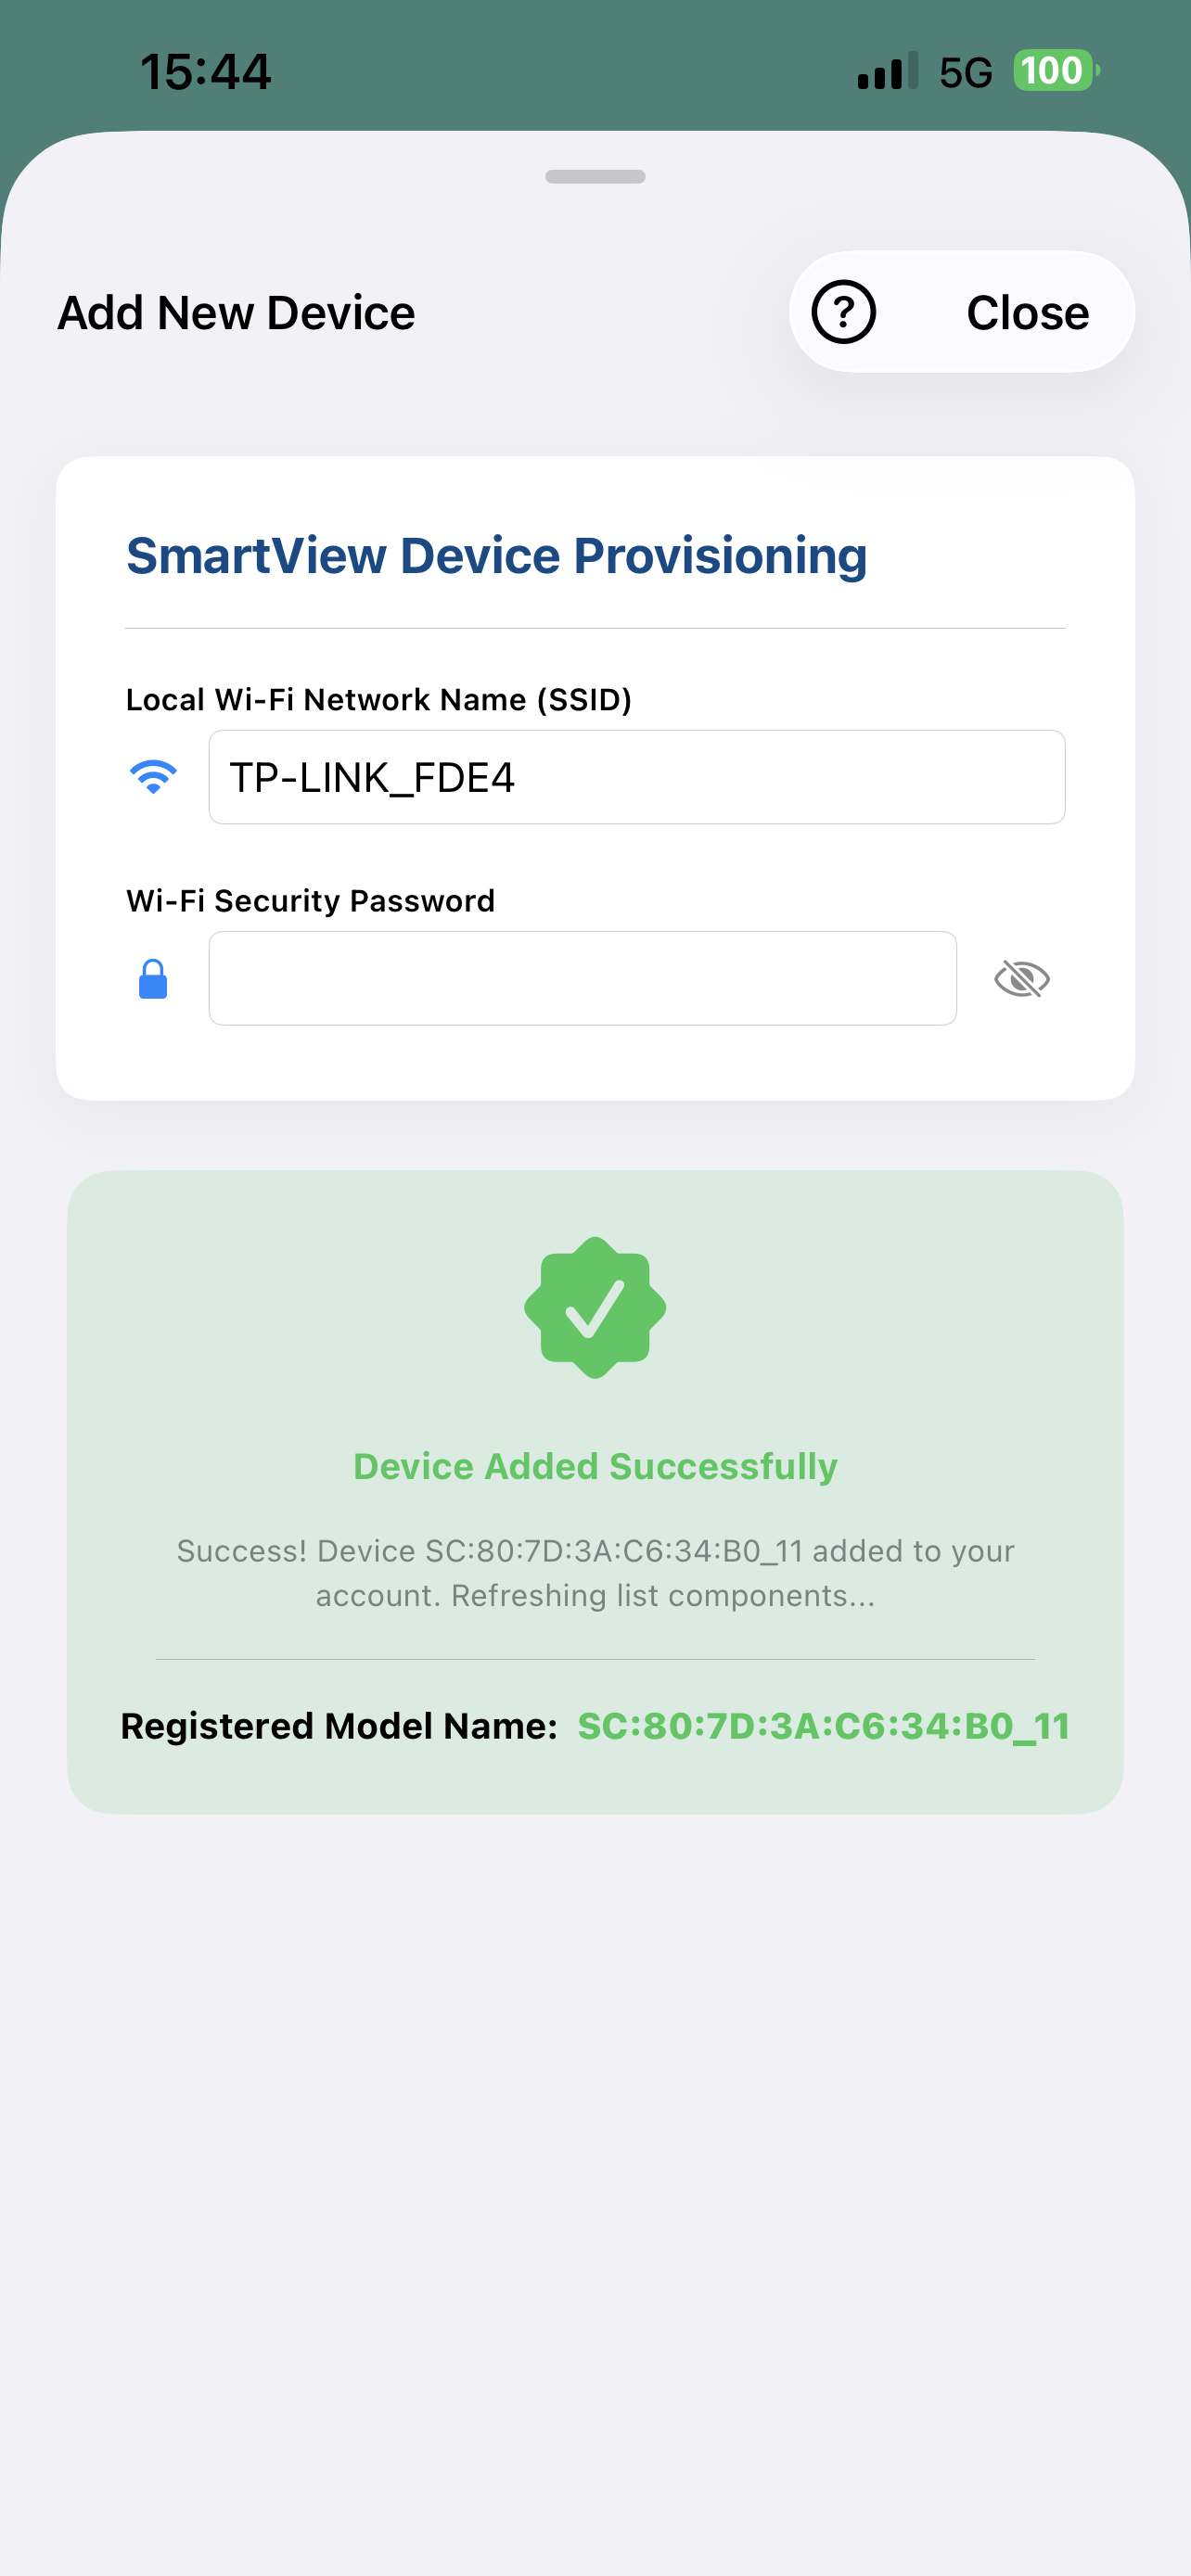
- In order to complete the connection, it is required to transfer the 'ownership' of the new Wifi devices under your registered cloud profile. To do this you will need to have internet access on your app. So disconnect from SmartView Cloud Device Hotspot and connect your phone/tablet to Wifi. Return to app 'SmartView Provisioning Page' and the app will automatically transfer the device under your profile.
If you have Mobile Internet active you can also just disable the Wifi and the phone (App) will then automatically route the ownership claim under your account.
 |
 |
 |
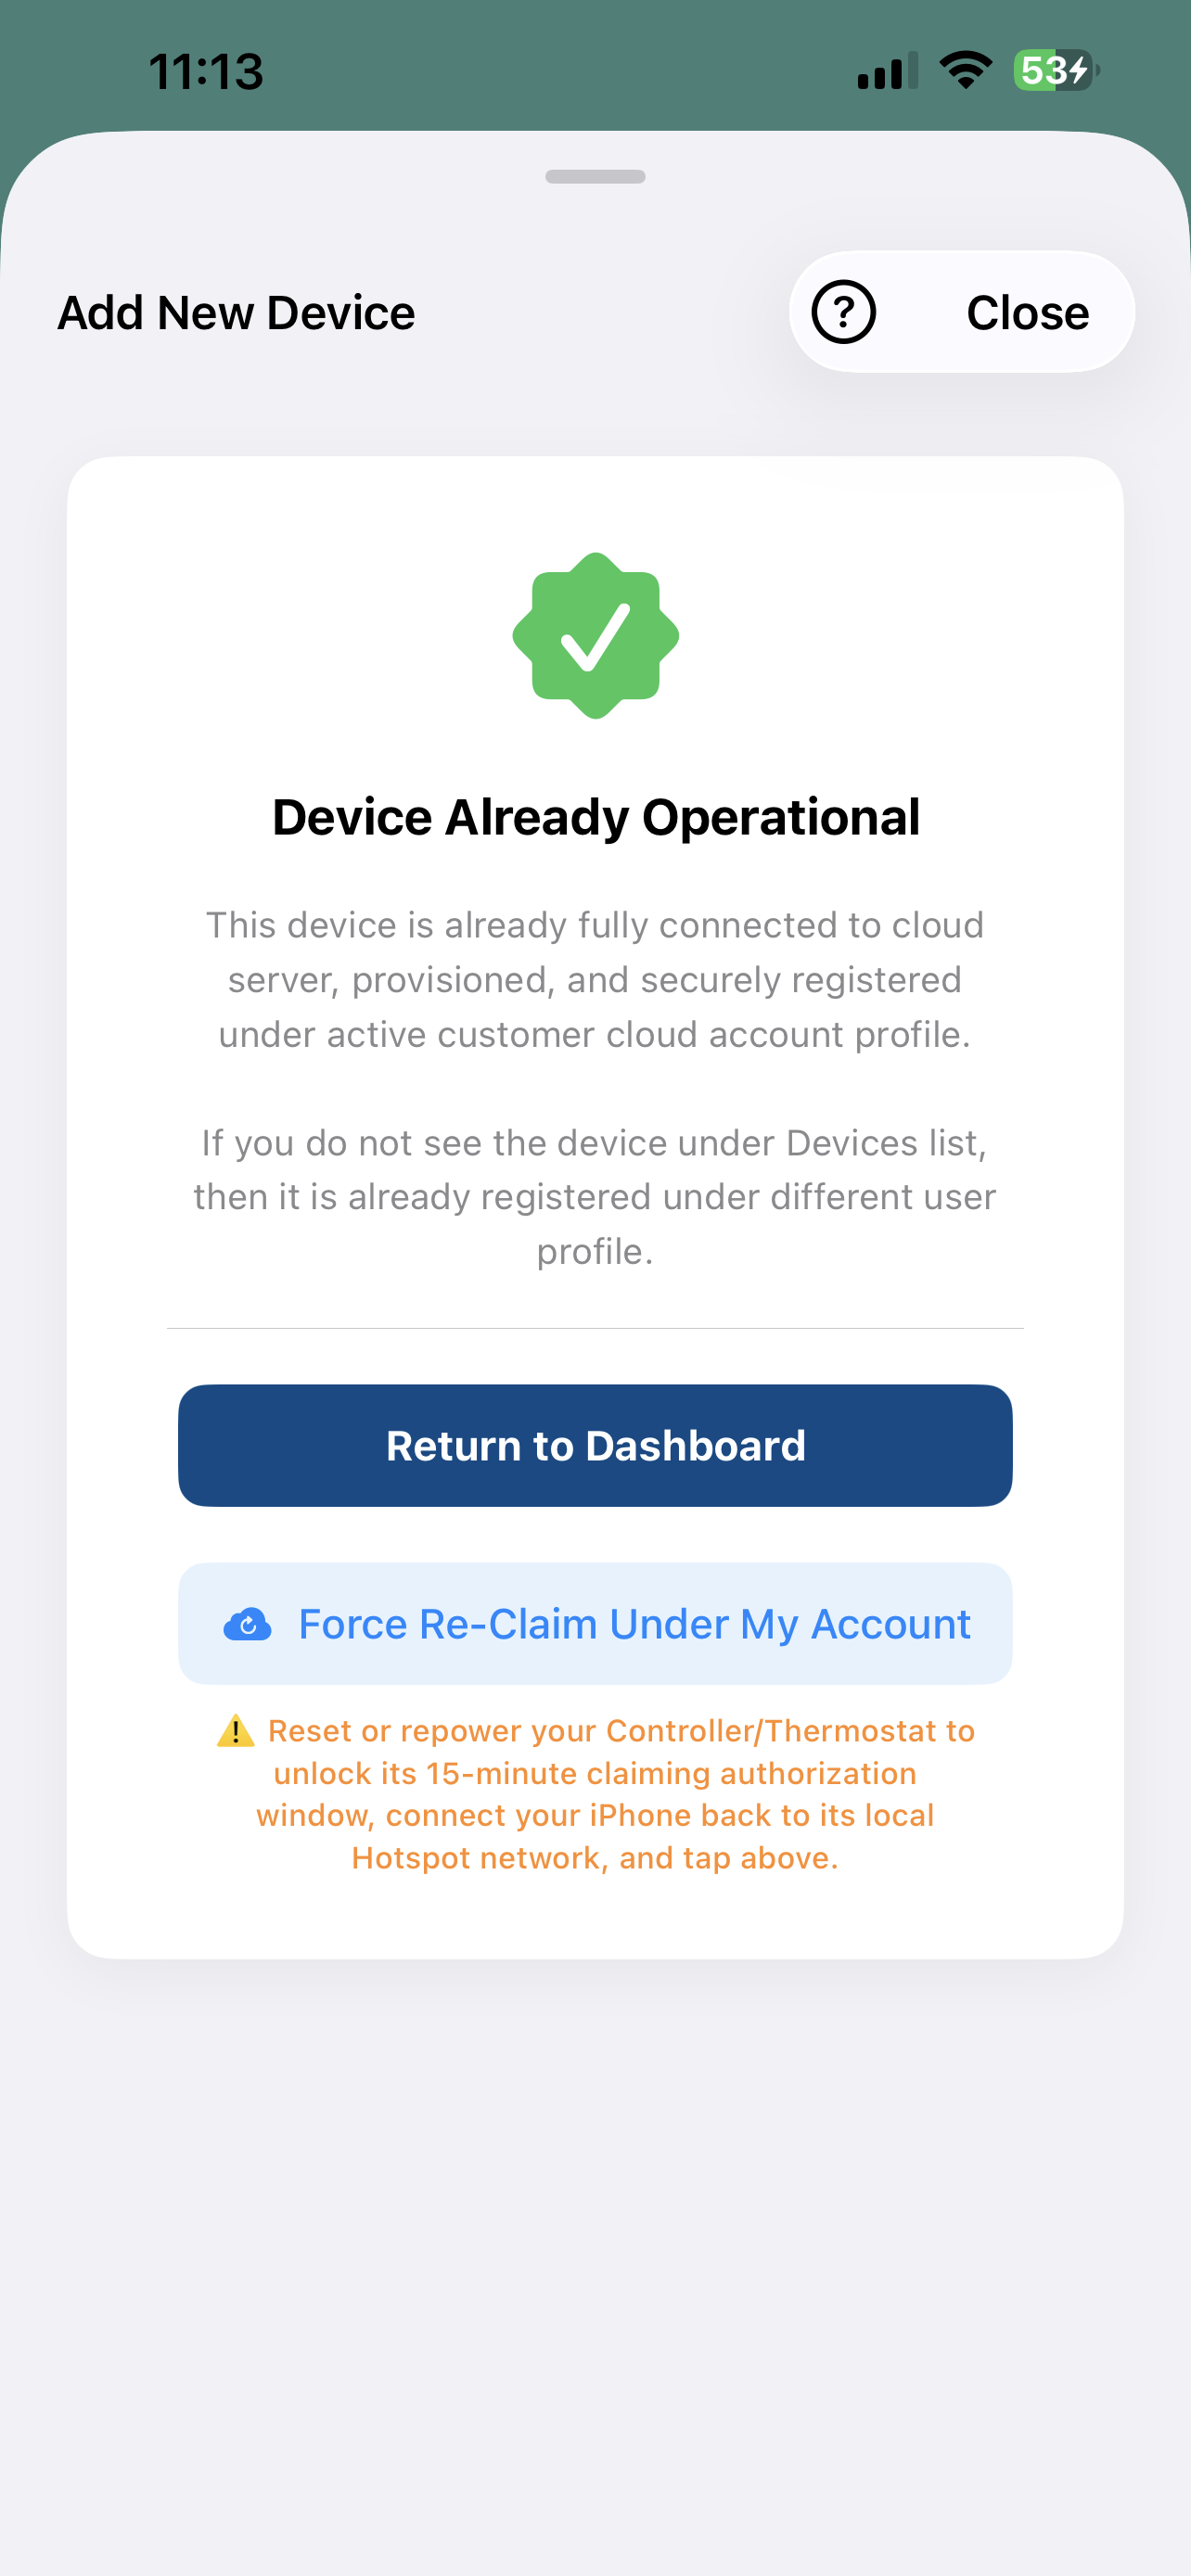 |
| Device Connecting to Wifi Router and Cloud | Device Connected to Wifi and SmartView Cloud | Device Added under Users Cloud Account (NOTE: Remember to disconnect from Wifi Hotspot before this step) | Message if the Device is already Connected to SmartView Cloud |
Please note that the ownership claim must be done within 15 minutes window of entering the Wifi credentials to the SmartView Cloud Wifi devices. To activate the claim window again you can either reset (from reset button) the SmartView Cloud Wifi device, or switch power off and on. On restart the 15-minute claim window is activated.
Using SmartView Cloud App
Devices
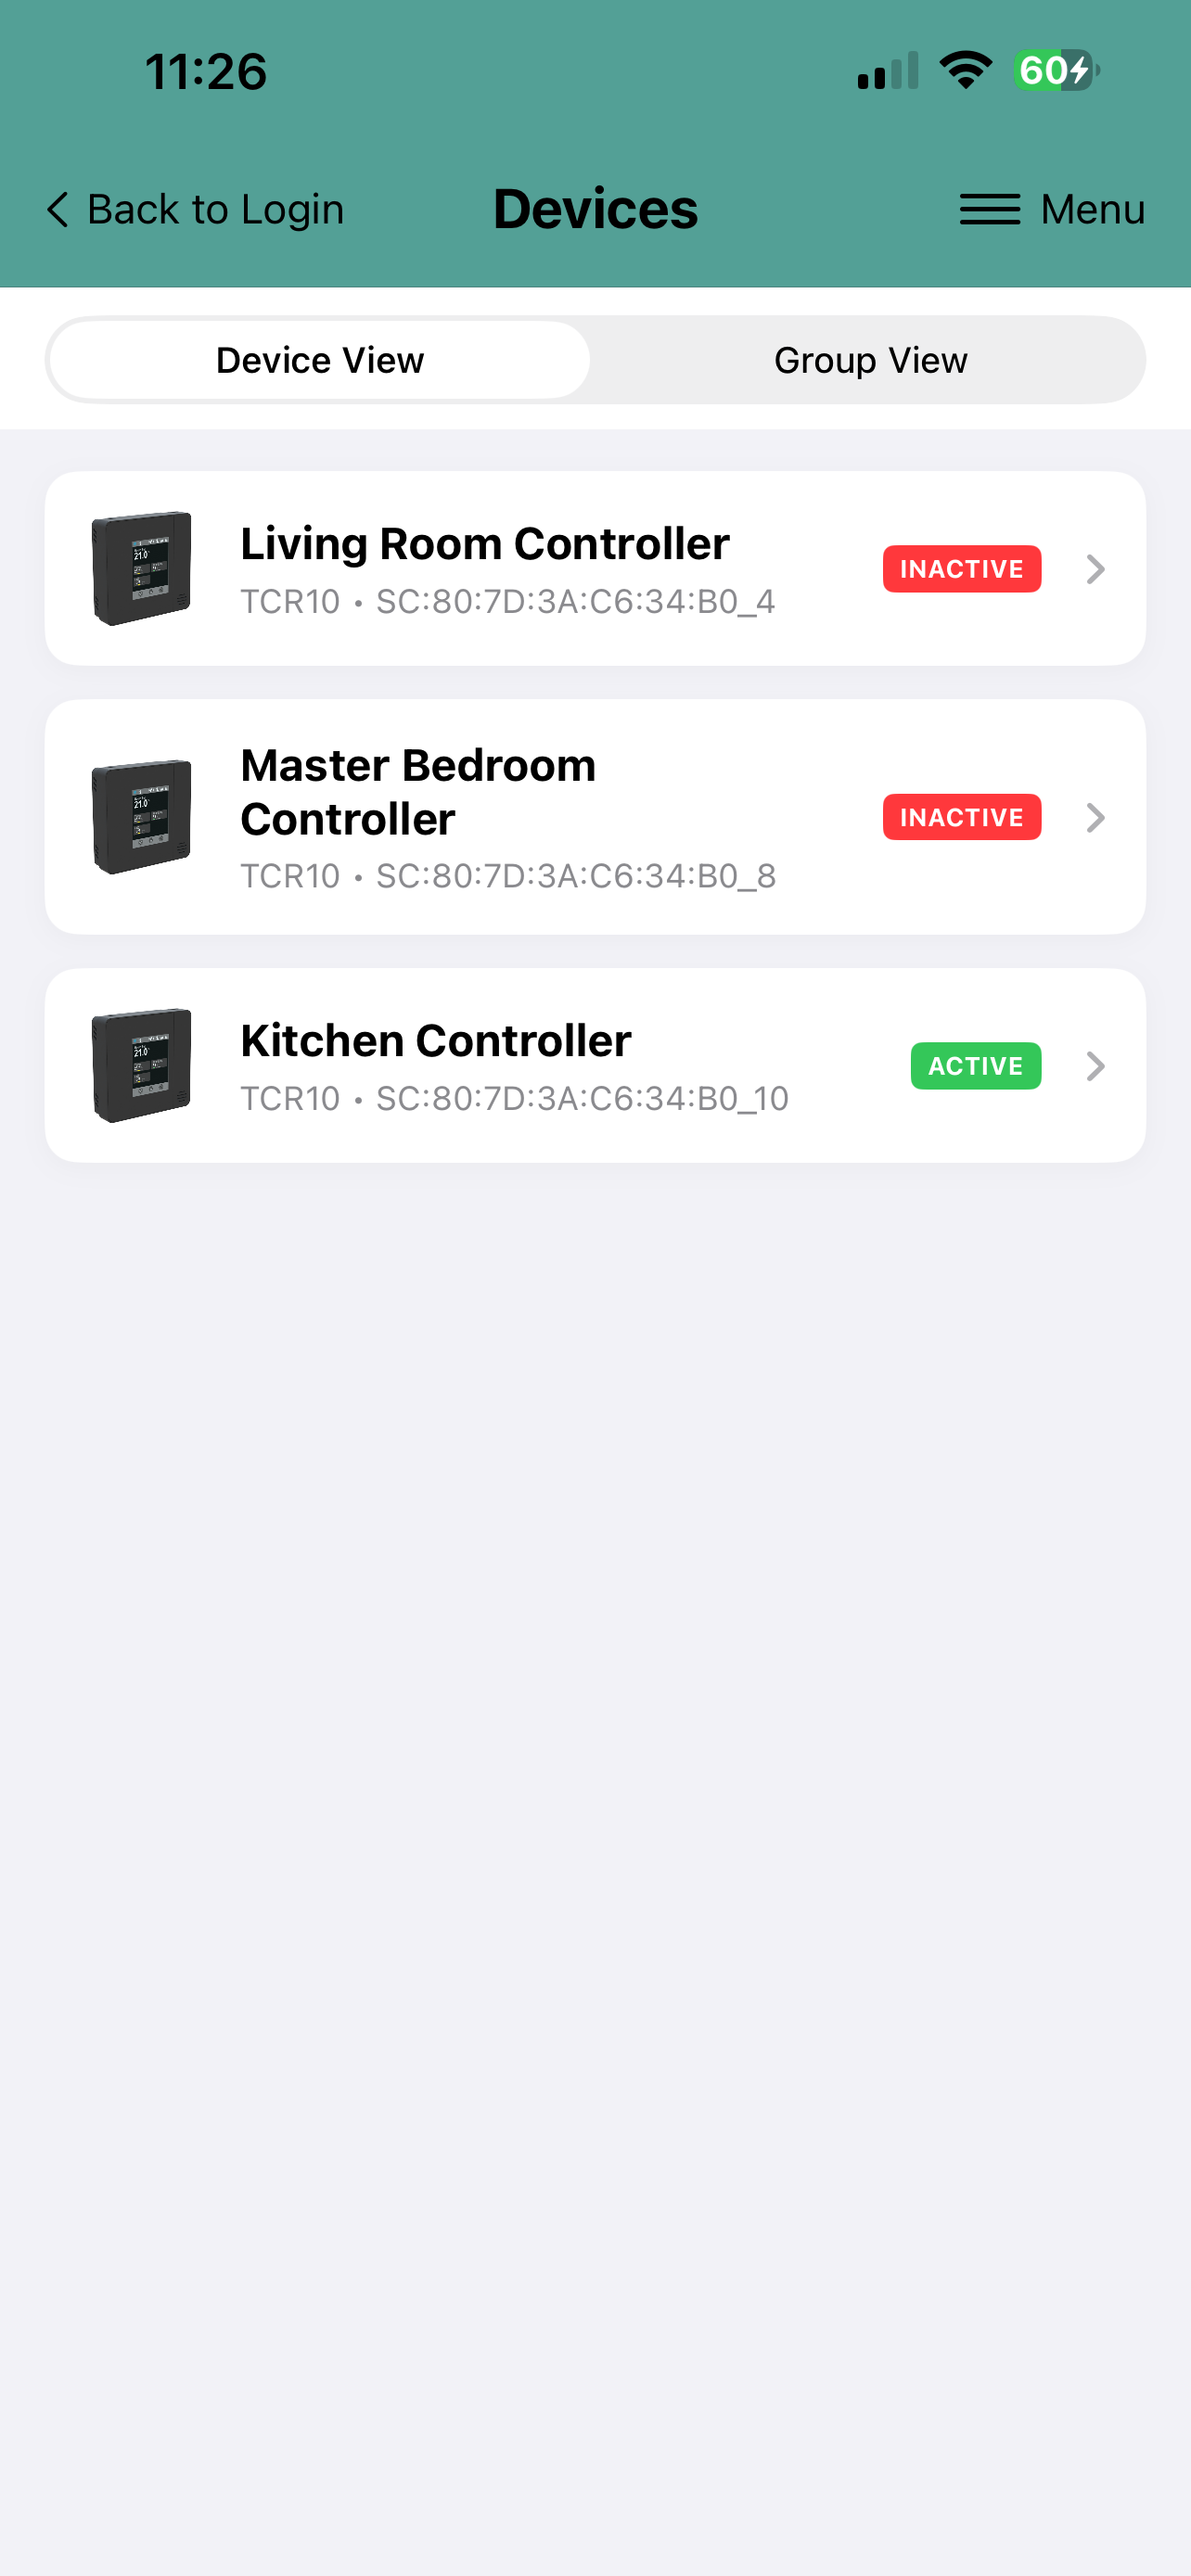
Once the SmartView Cloud device is connected to the cloud server and it is claimed to be under your account, it is shown on the Devices page. The page displays list of all of your devices. The pages has two different view modes: Device View and Group View.
- In Device View the devices are shown in a list. with the current current connection status and customisable device name. Selecting the device, it's Dashboard view is displayed.
- In Group lists of the devices are grouped under custom defined groups. E.g. devices located in the Ground Floor can be grouped under its heading, and all devices in the house can be listed under heading Whole House.
 |
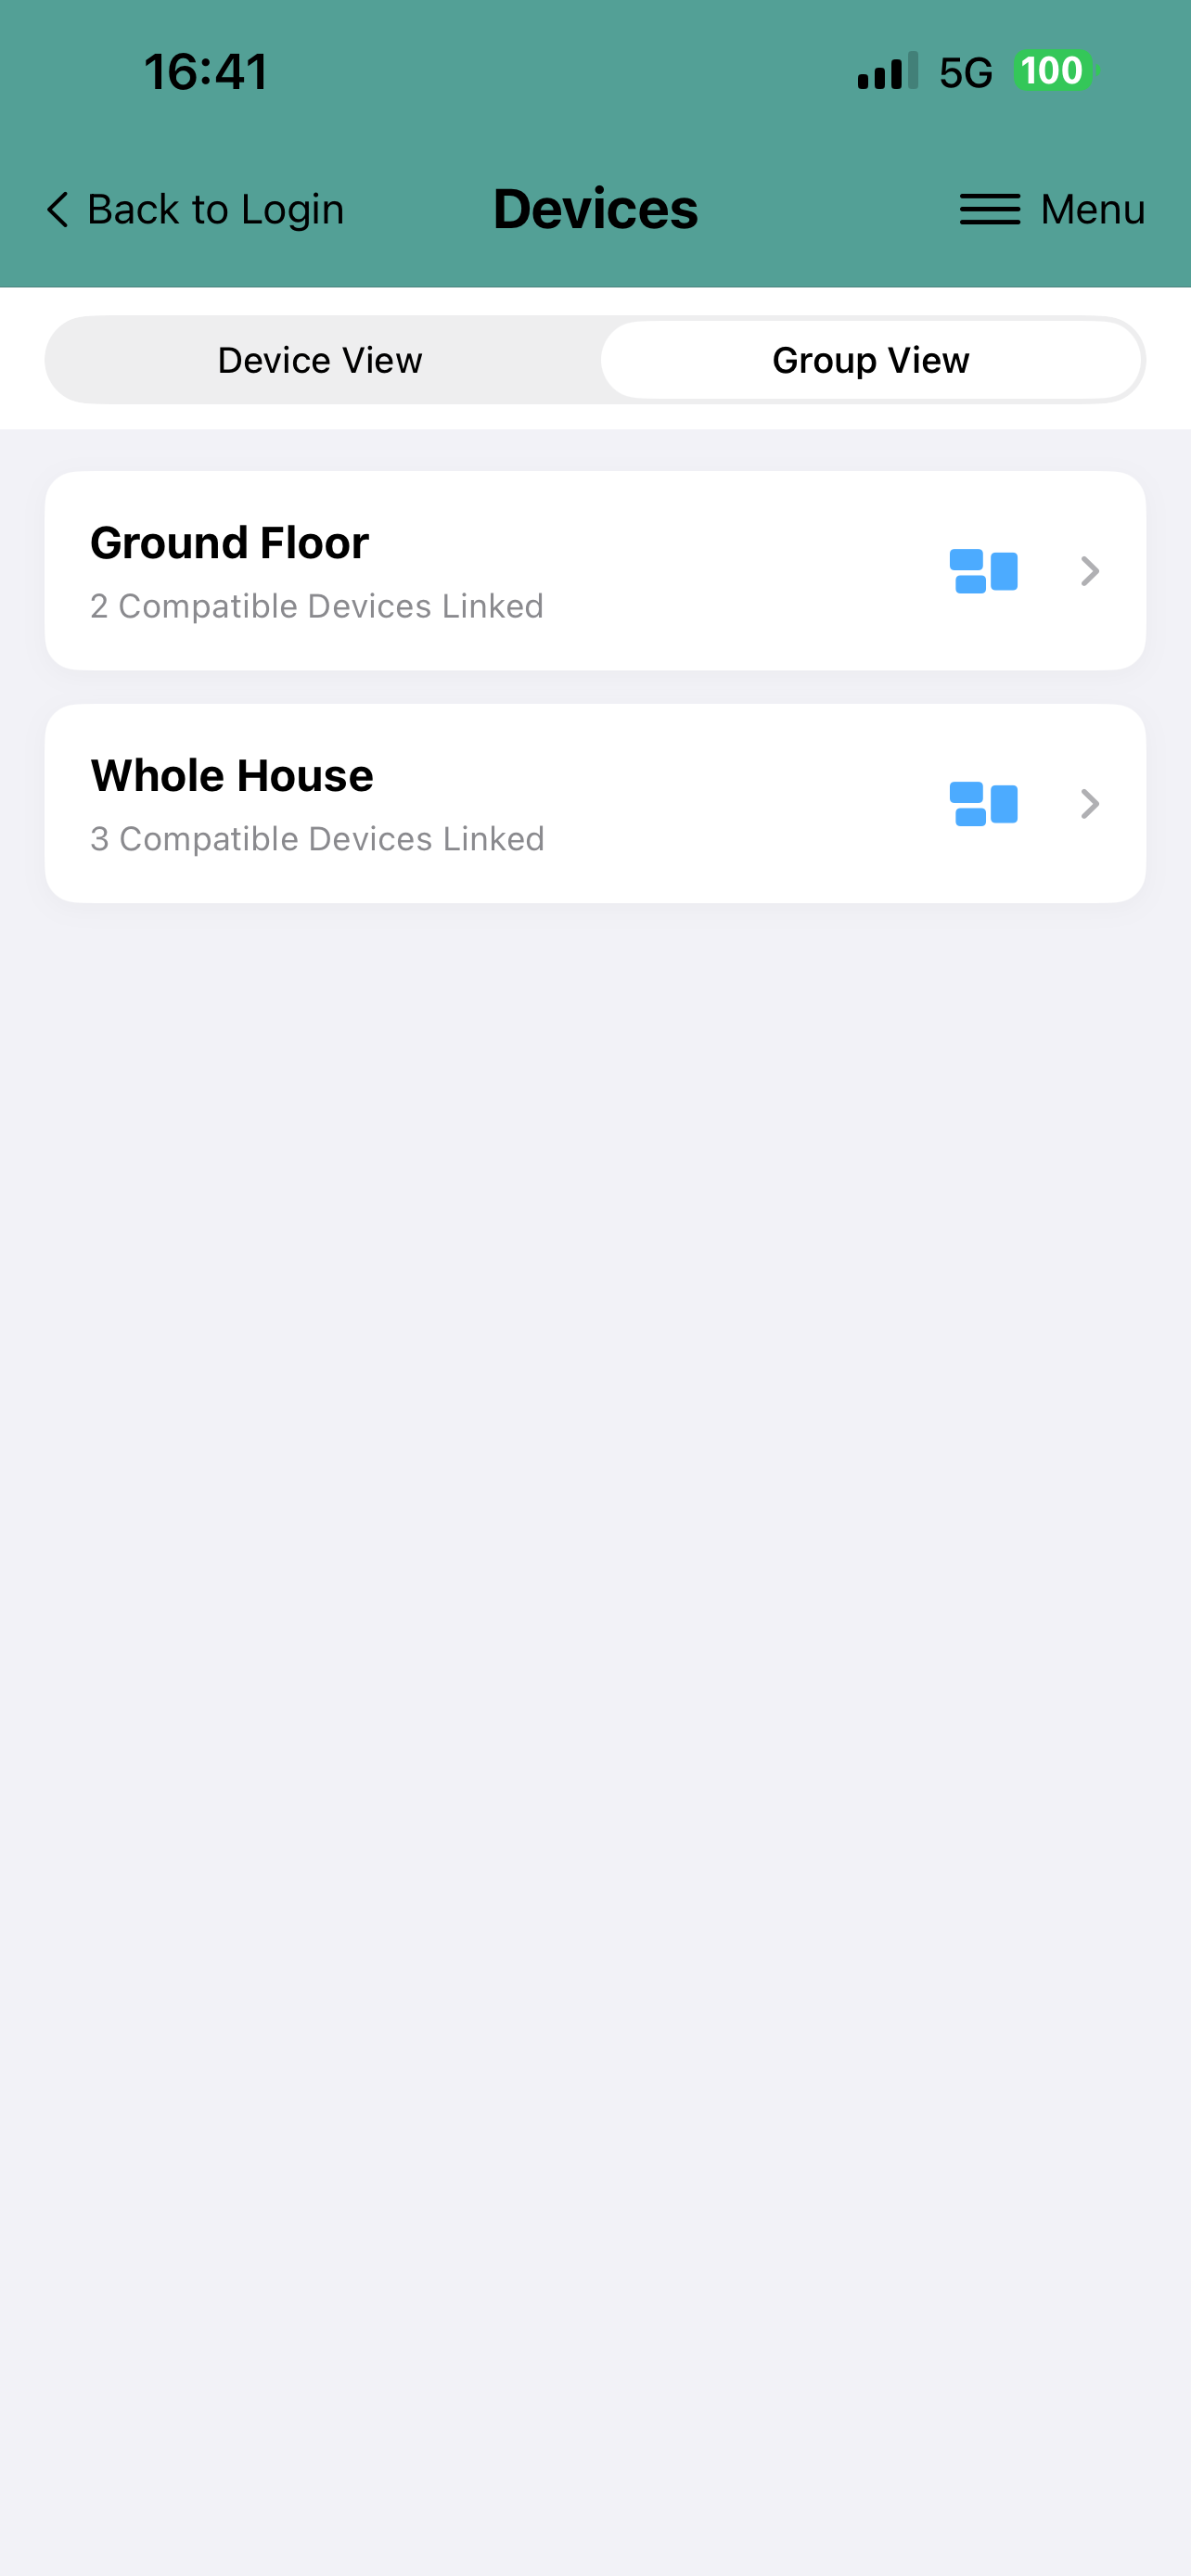 |
| Device View | Group View |
Configuring Group Views
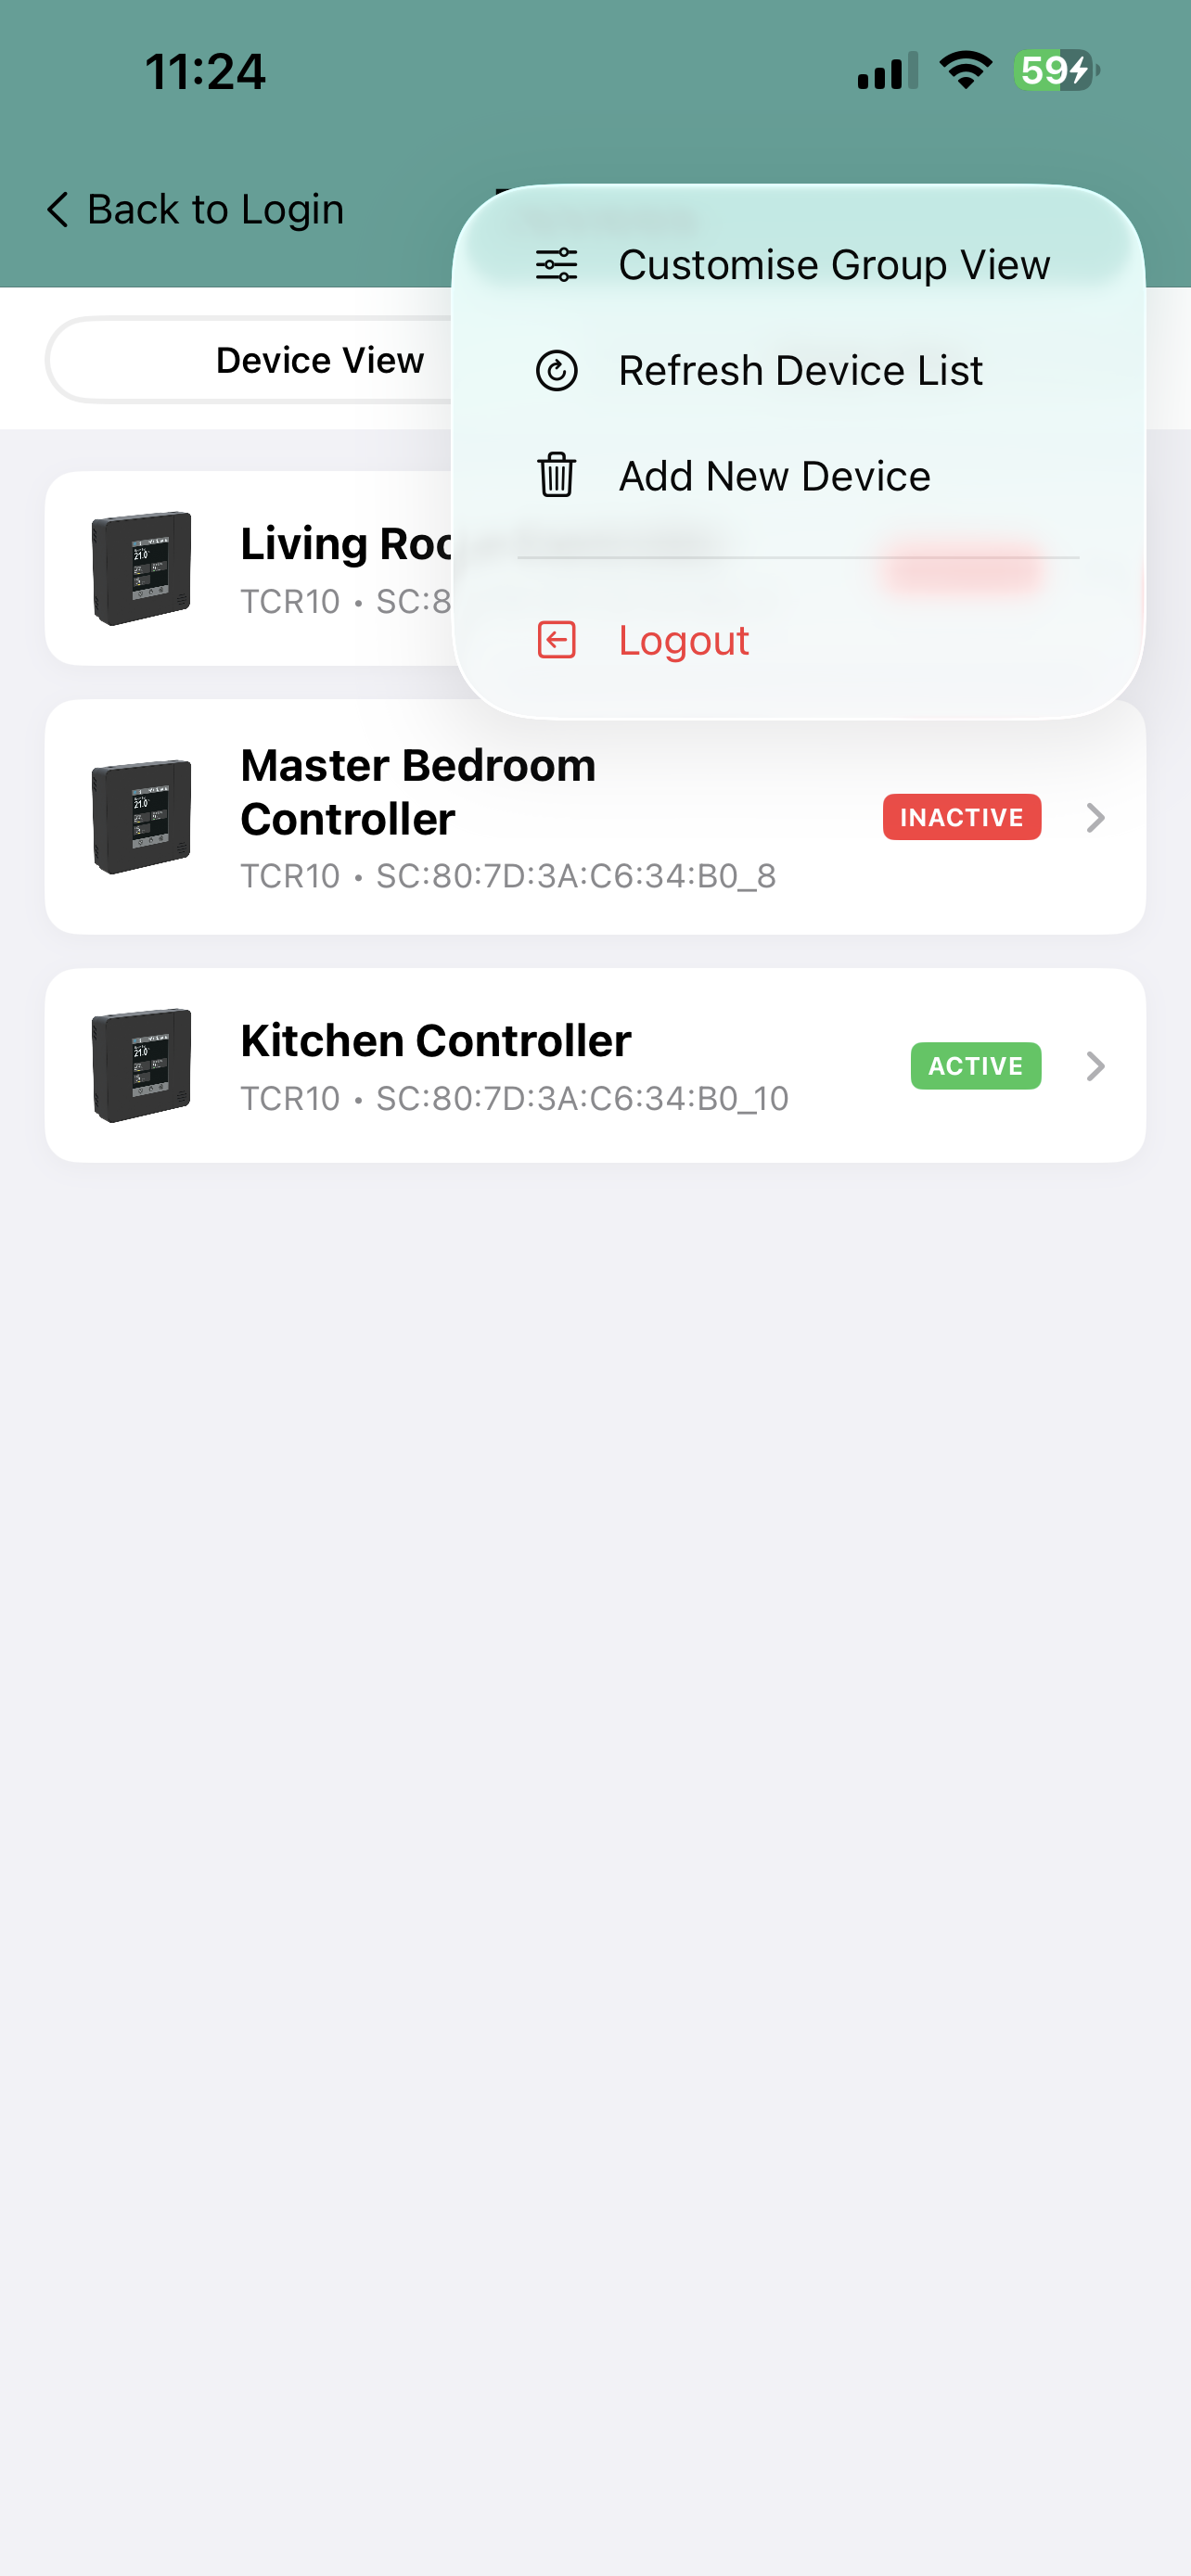
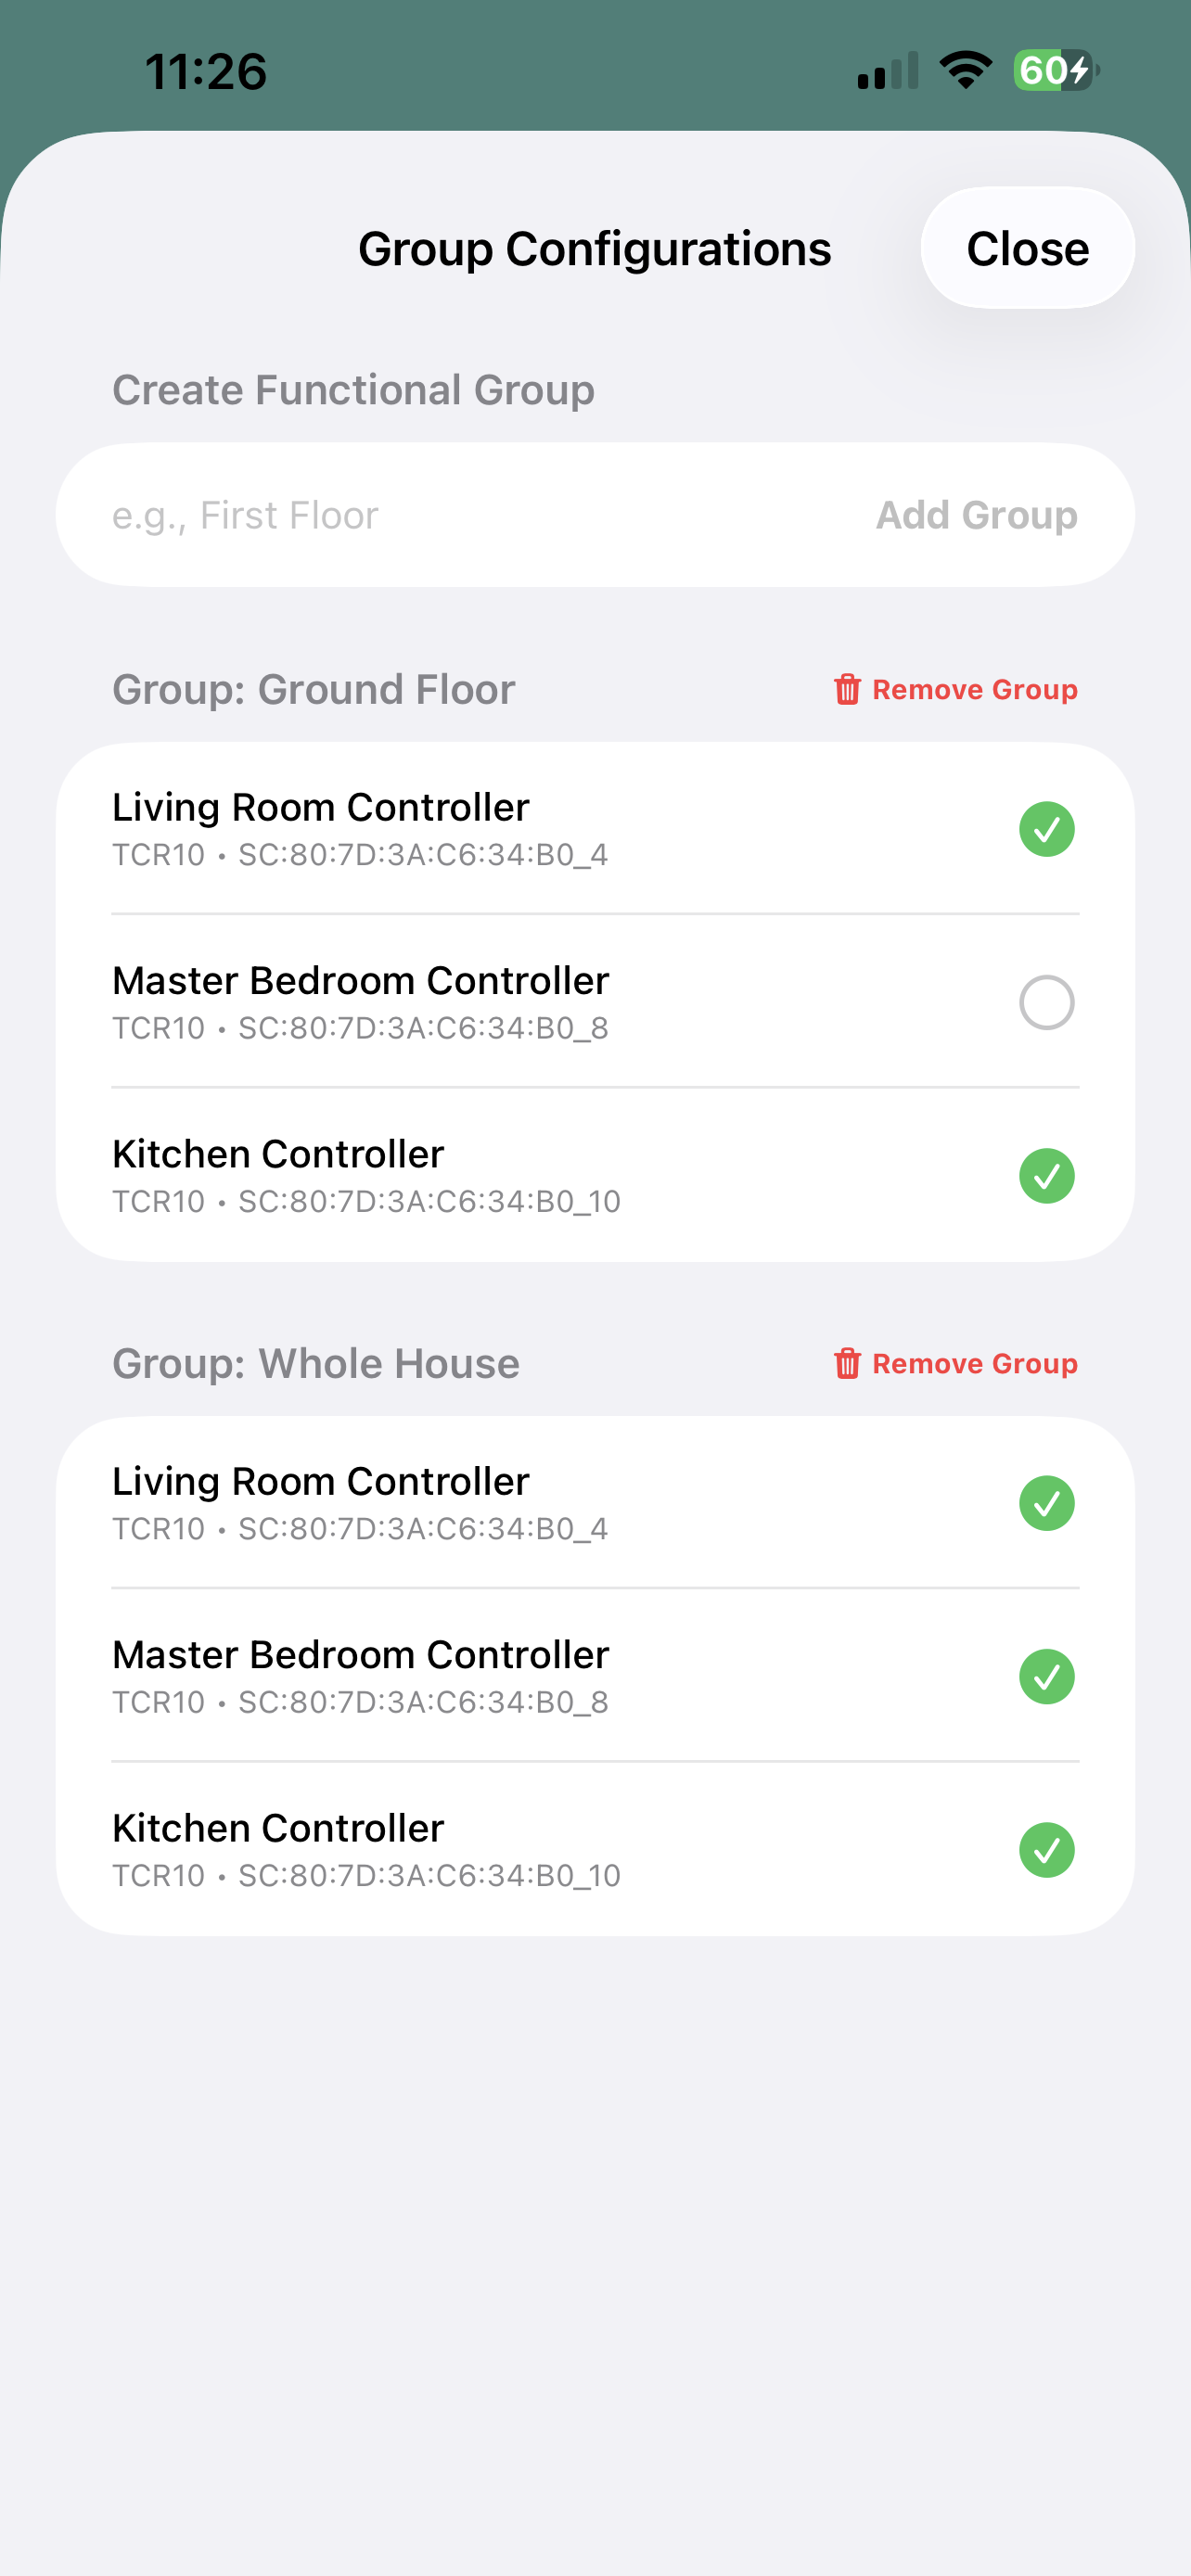
Selecting from the menu 'Customise Group View' it possible to create new groups and assign devices to belong to that group. Simply just select the devices that you wish to include into the group.
 |
 |
|
Customising Groups |
Creating Groups and Assigning Devices to Groups |
To rename group, delete it and re-select the devices belonging to that group.
Dashboard
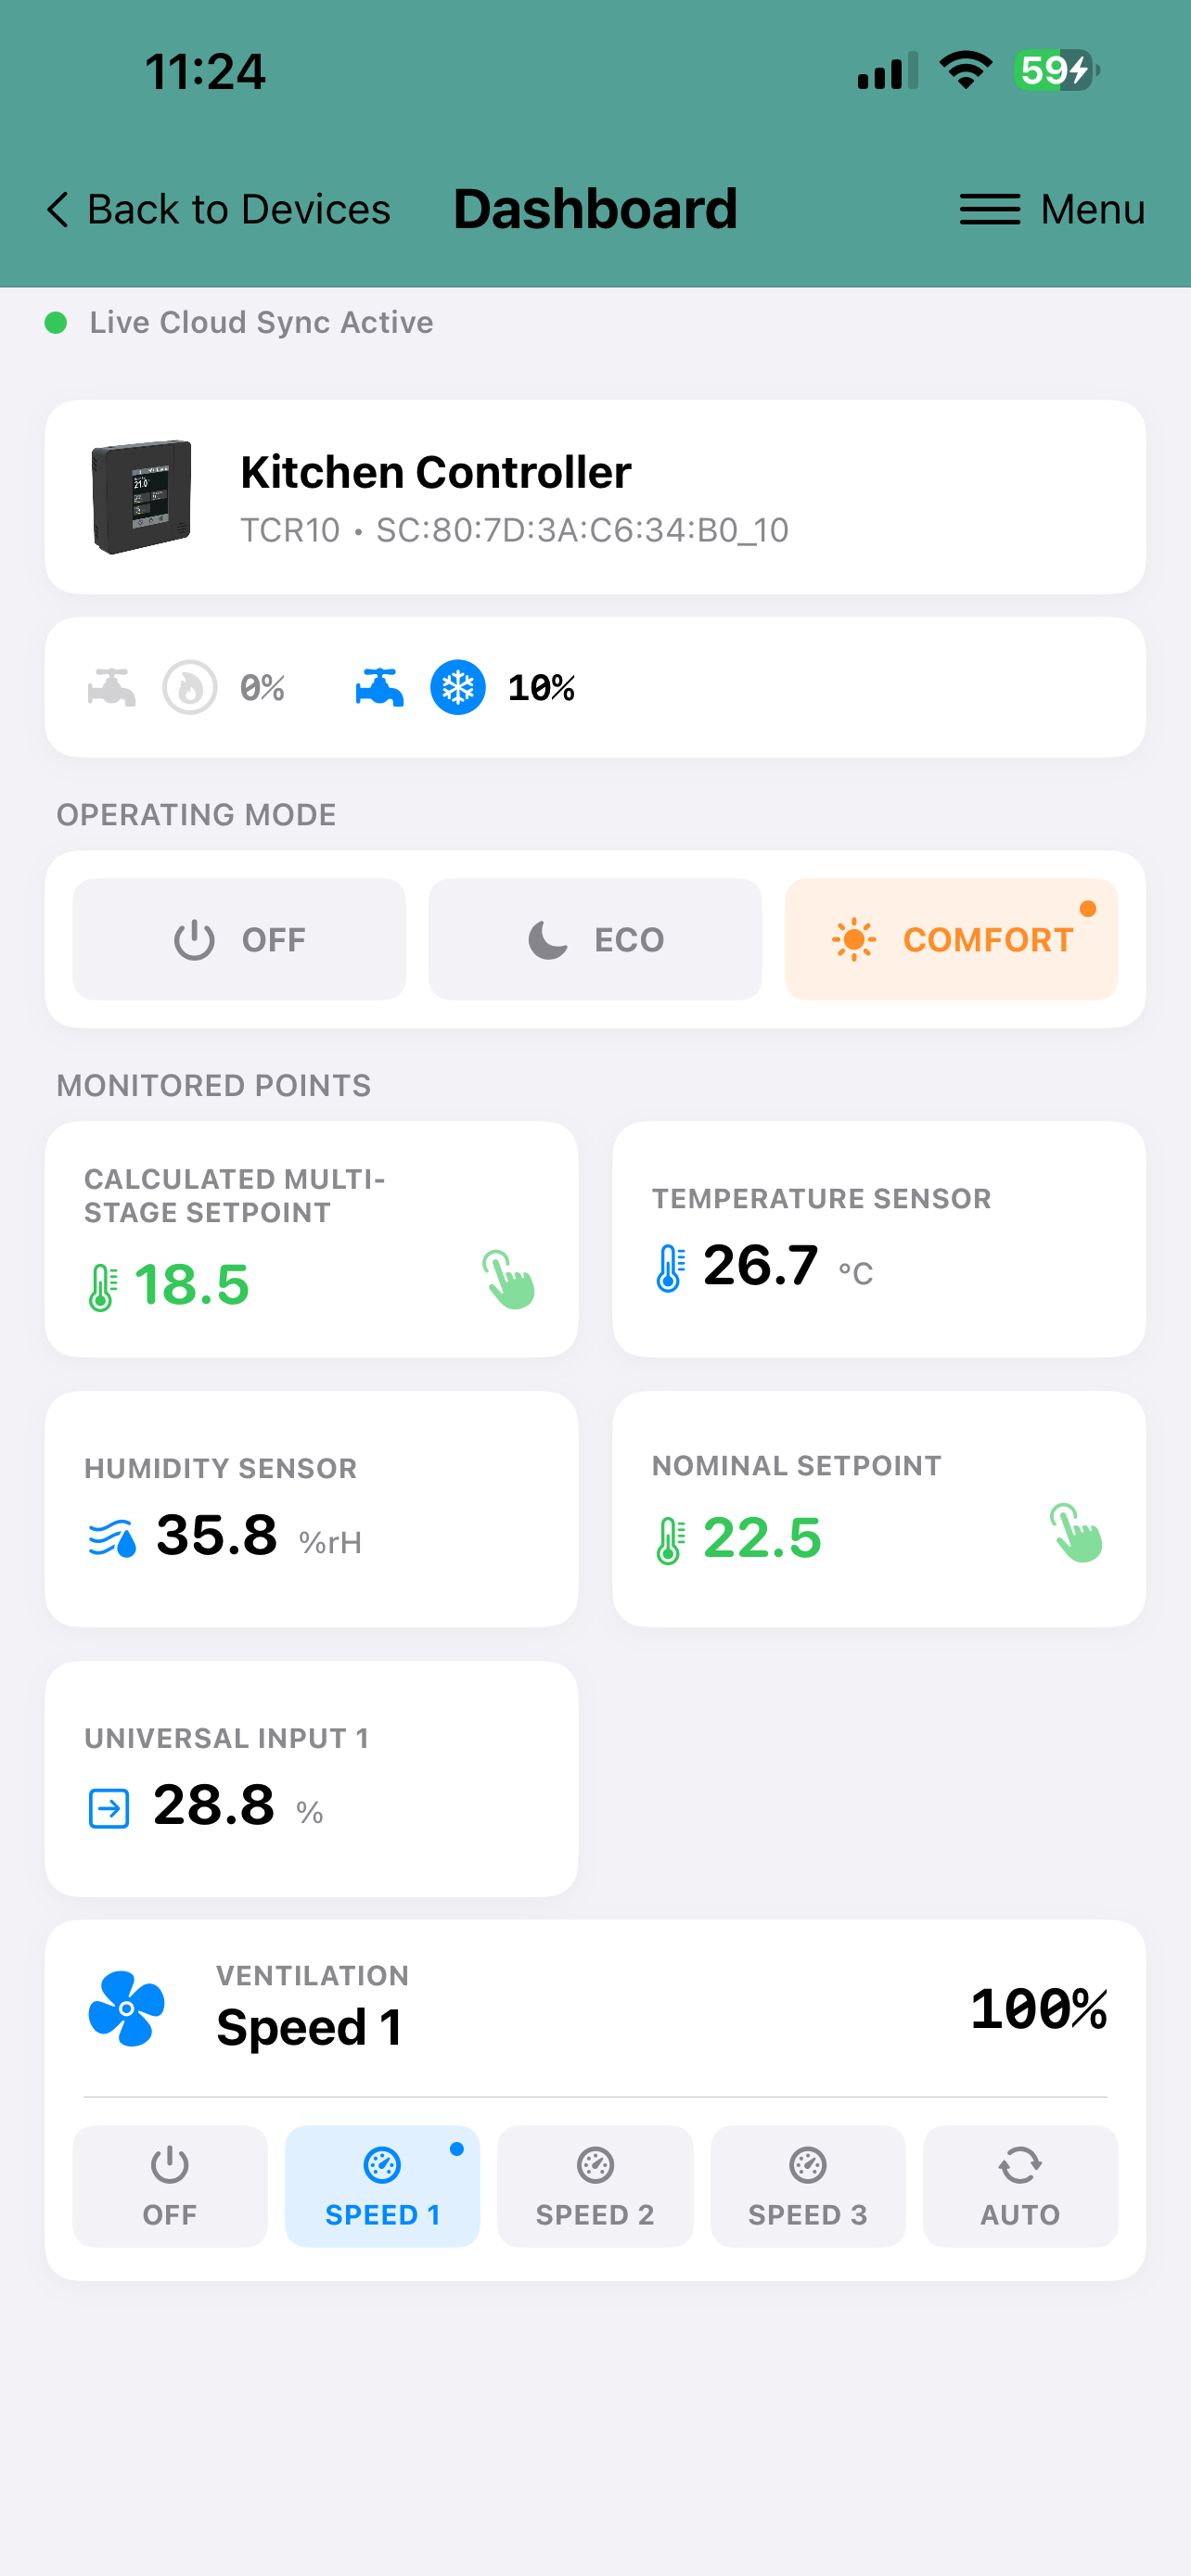
Device dashboard displays the current measurements and settings of the device. From dashboard the setpoints and other settings can be adjusted. Typically these include the temperature setpoint, fan speed and the operating mode (occupied mode or off mode). The exact content of the display depens on the product model and on its configuration.
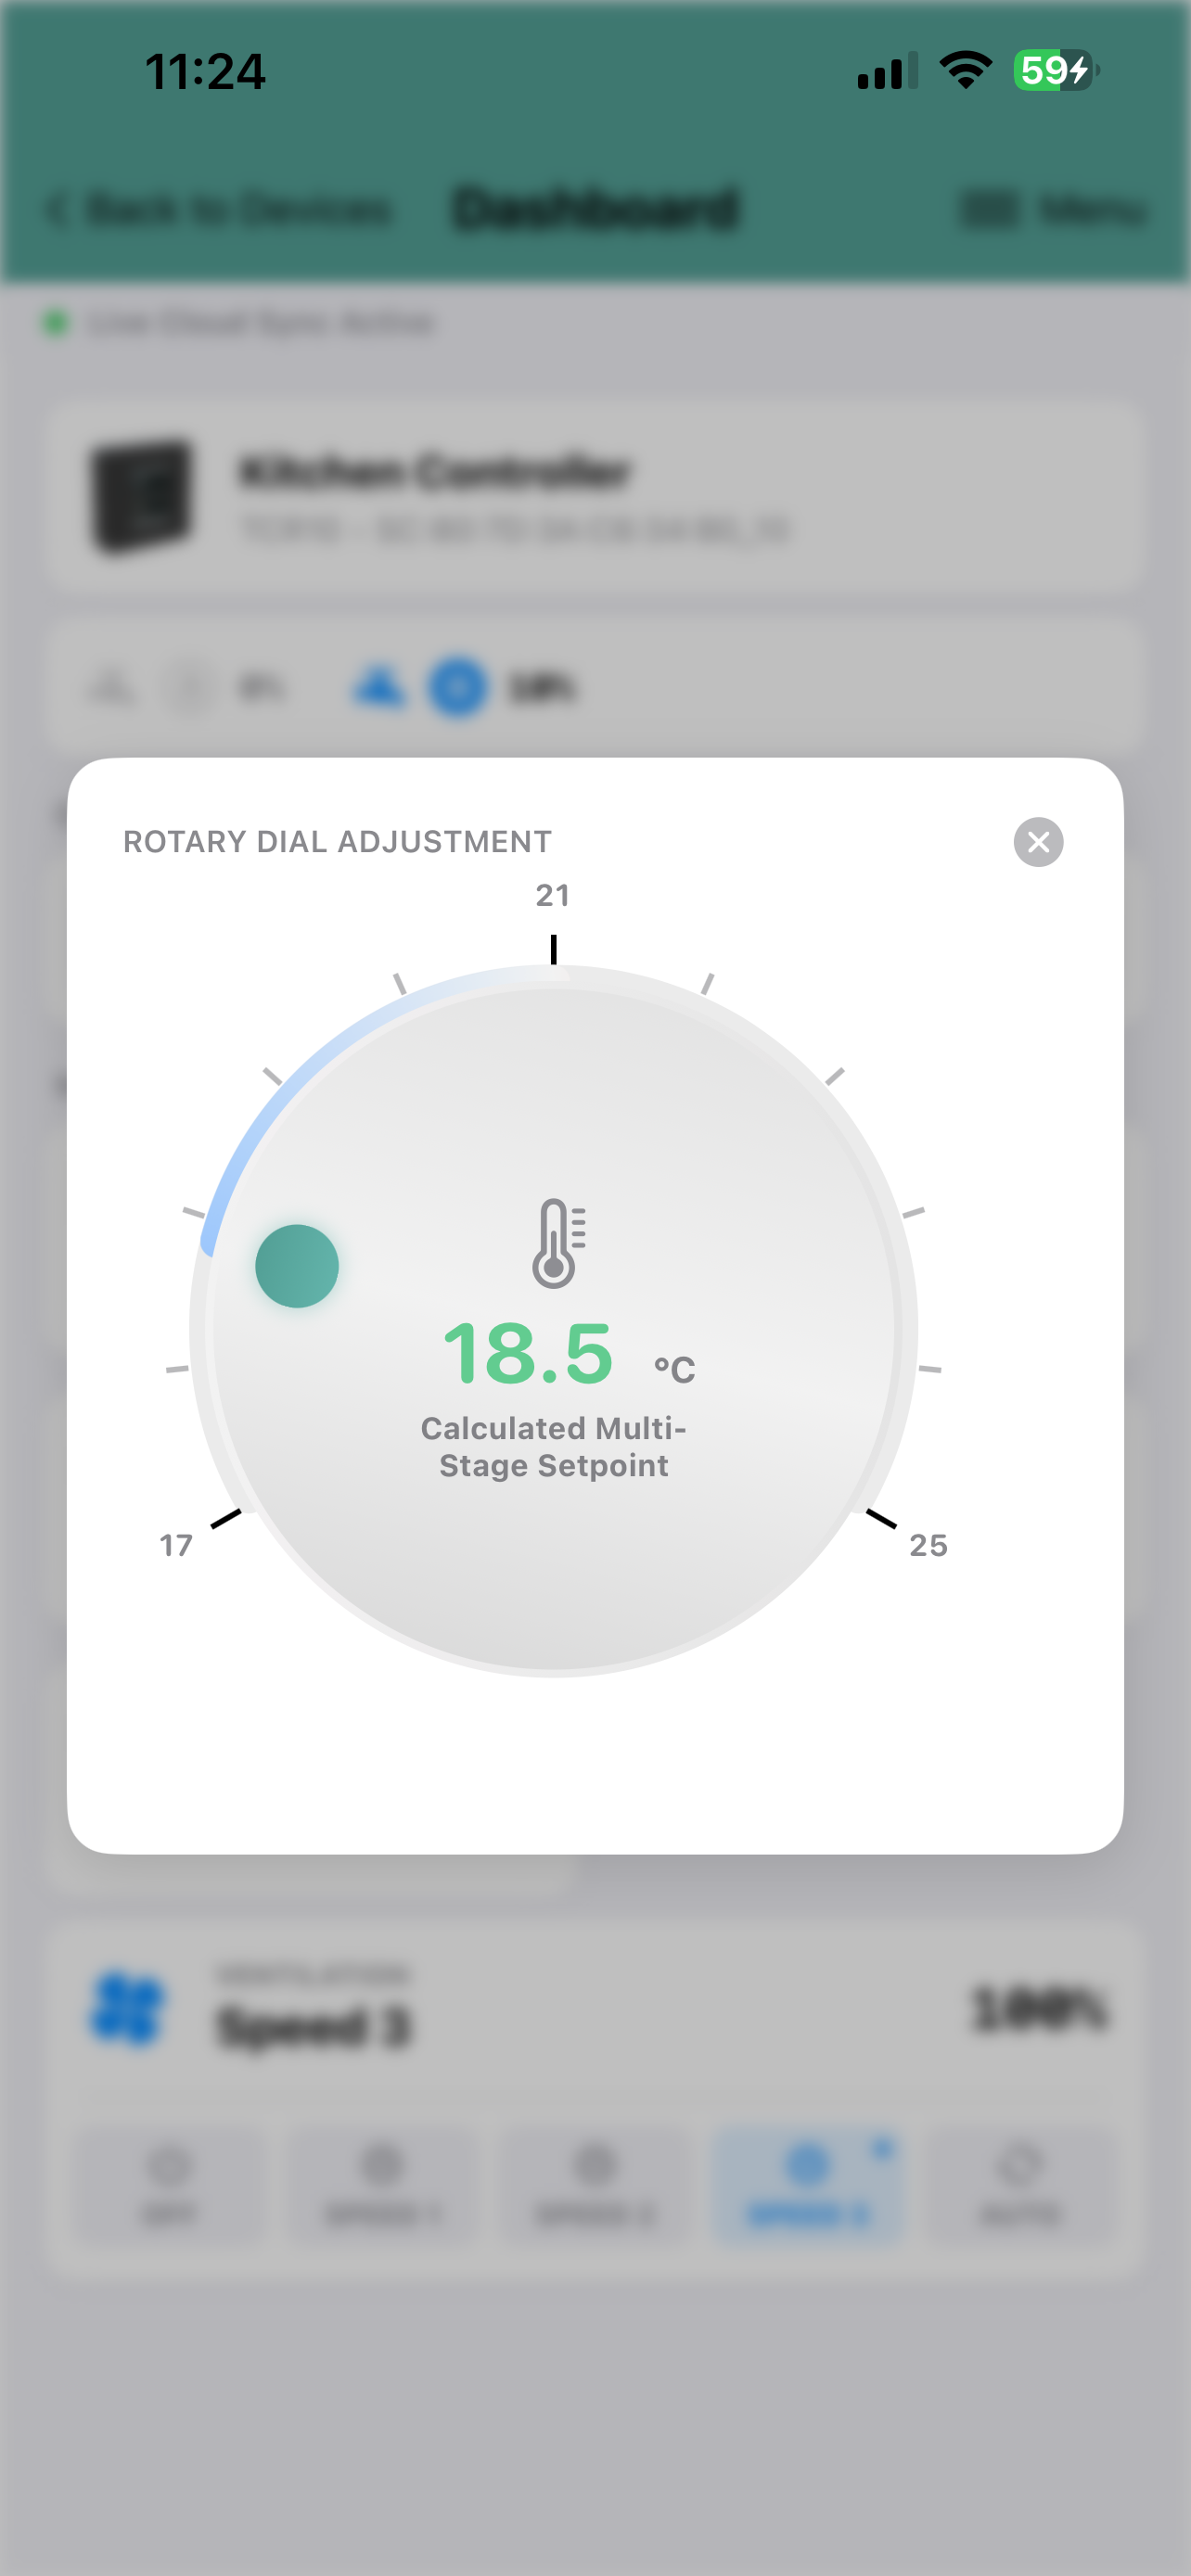
By pressing - for example - the current temperature setpoint, the temperature setpoint can be adjusted for that controller/thermostat/sensor. To chnage the operating mode just select the required operating mode.
The app sends the new settings to the SmartView Cloud server. When SmartView cloud server detects chnage in the setting it will immediately transmit the new value to the device.
To customise the name of the device, select from the Menu 'Customise View', and the 'Location Name' i.e. the device name can be changed.
 |
 |
|
Dashboard Example |
Adjusting Temperature Setpoint |
Group Dashboard
When selecting a Group, Group Dashboard is displayed. From Group Dashboard it is possble to adjust common settings to the devices belonging in one group in one adjustment. Typically the temperature setpoint or the operating mode is adjusted for all of the devices in the group.